
If Olympic sailors, coaches, and America’s Cup teams take the time to mark control settings, why shouldn’t the rest of us do the same? We don’t need to overdo it – just a few key marks will help us get to the right trim more quickly and with less distraction.
For this post, we used the following sources that discuss marking controls:
- Let’s Talk MC Scows – 2021 Season Review & Tuning Updates – from North Sails, with Allan Terhune, Jr. and Eric Doyle
- On Your Marks, Get Set, Go – Erik Shampain – Sailing World
- Demystifying jib trim – Quantum Sails
- International Cadet tuning guide – Quantum Sails
Why mark control settings?
Quick reference while racing
Marking control settings is a quick way to get to the fast settings or troubleshoot when you’re not feeling fast. Better yet, you can get to the right settings without looking at the sail or otherwise distracting your focus. Marks are a great reference for crews, especially if they’re part-time, extras, or substitutes.
Here are three simple examples of how marking your settings can help.
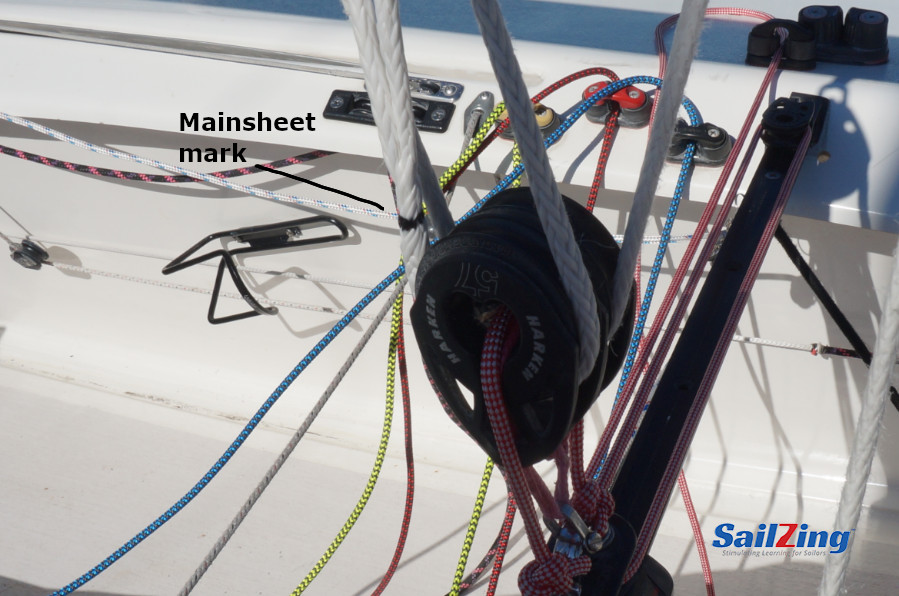
- When rounding the leeward gate, you can use a mark on the mainsheet to get to the right upwind trim while concentrating on steering and maintaining a lane after rounding.
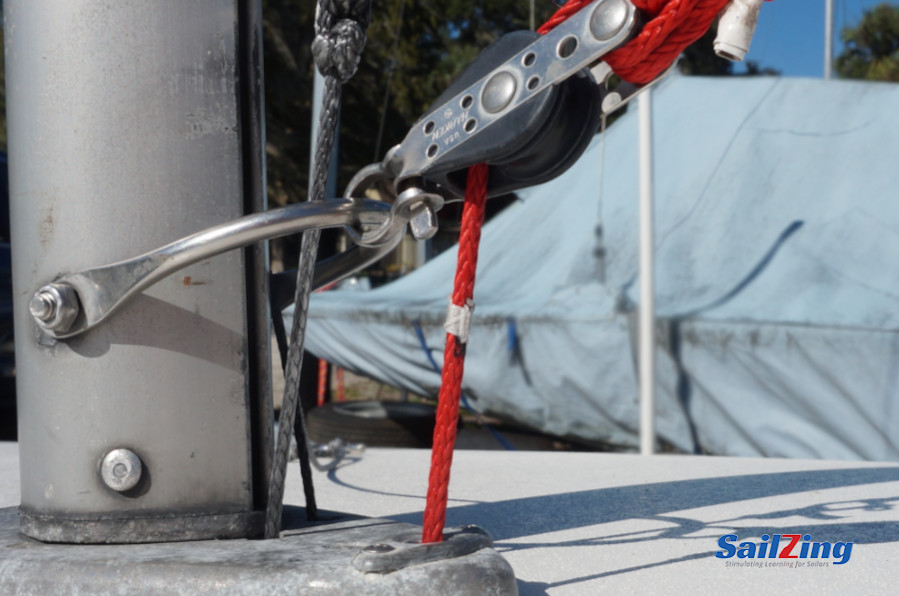
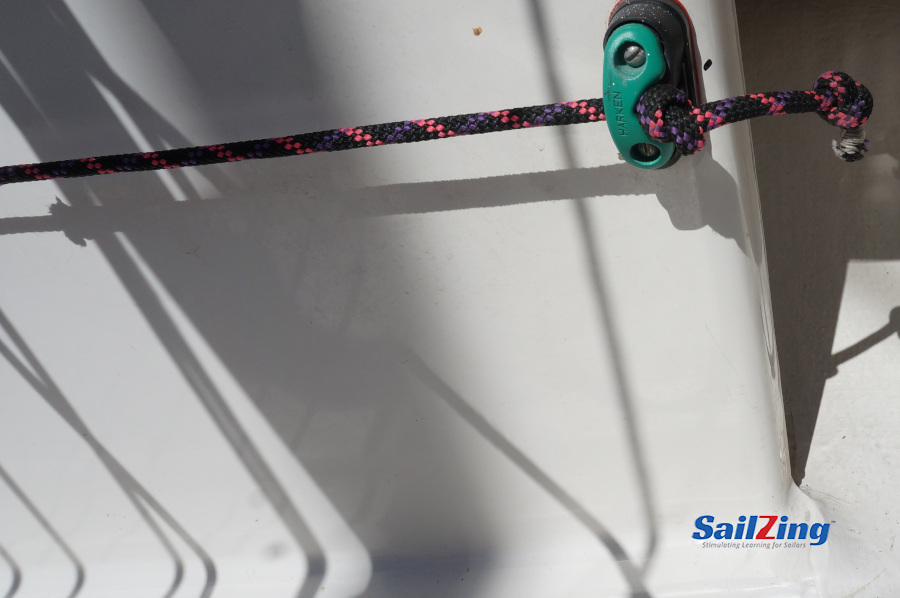
- Keep tabs on vang tension with a mark on the control line near the mast where it enters the deck. If you make a lot of adjustments to the vang, it’s easy to forget its current state. If you’re feeling slow, a quick look forward to this mark might reveal the reason.
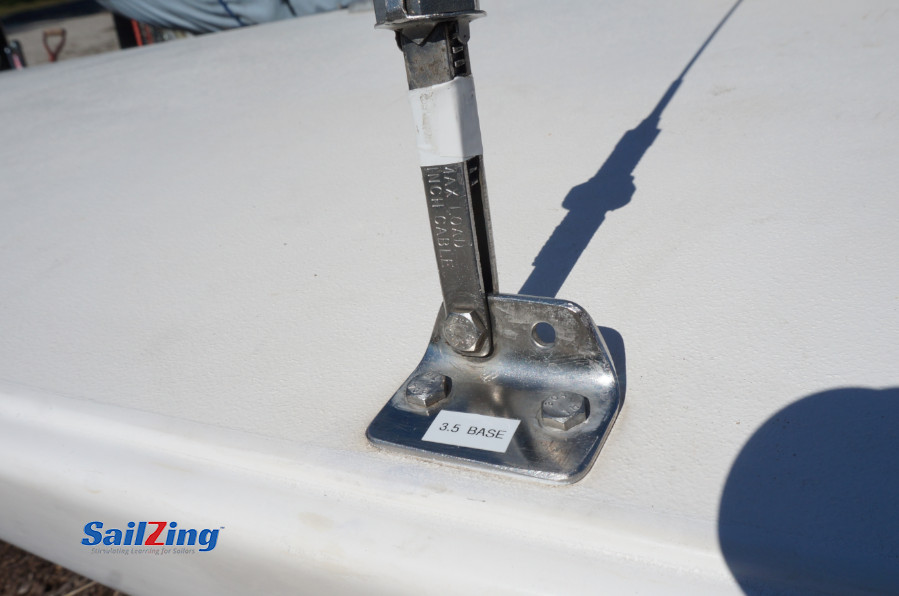
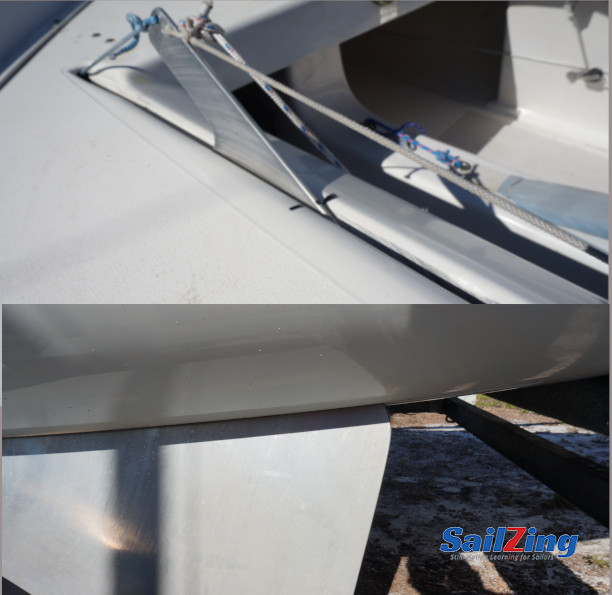
- For rig tuning, you can mark or label settings at the adjustment points, rather than re-measuring each time.
Training/tuning aid
Many less experienced sailors don’t have a good picture of the range of mainsheet or control line tensions needed for proper sail trim. Until they can feel the effects of changes and know when they’re going fast, marks are a good training aid. Have a coach or experienced sailor help you place the marks.
In Two Boat Testing: Worth the Effort, we learned that tuning up with a partner is the best way to become faster. To do this process correctly, you must have a way of comparing and repeating settings. Hence the need to mark control settings.
Things to mark
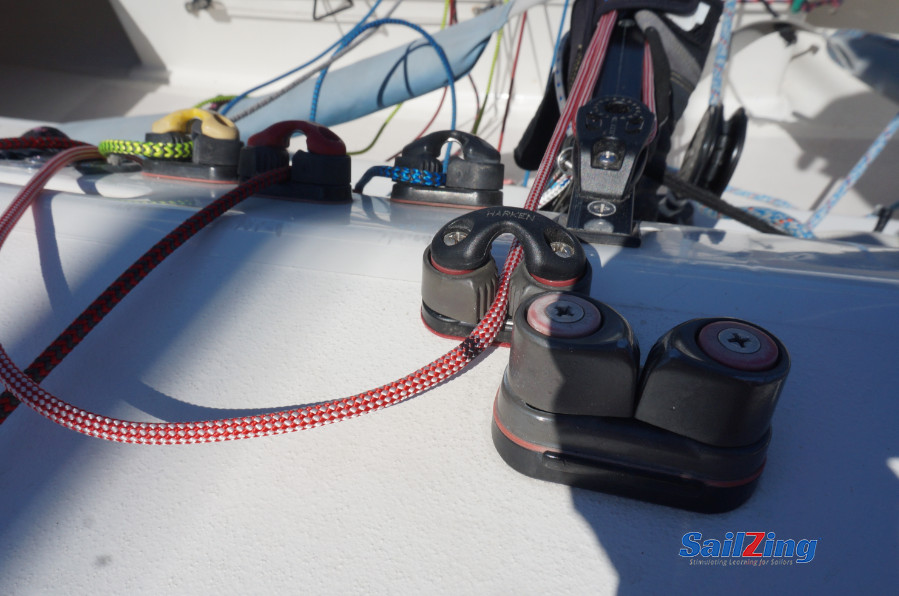
- Sheets – main and jib sheets for a base upwind trim setting
- Control lines – vang, outhaul, cunningham, traveler for base settings
- Boards – full down and part way up position for heavy air or sailing downwind
- Jib lead placement – settings for light, medium, heavy air
- Halyards – jib, spinnaker, genoa
- Spinnaker tack lines
How to place marks
Make sure you’re marking the fast settings. Determine these with a coach or from two boat testing. Make note of the conditions – wind, waves, crew weight, etc.
One or two reference marks for each control is probably adequate. However, be aware of changes that affect the setting – different sail, mast rake, wind condition.
Position marks so they’re easy to see, preferably with your head looking forward, or if not forward, at least level instead of down in the cockpit or up on the sail.
As you’re finding the fast settings, make an initial mark with tape or a non-permanent marker, then follow up with more permanent method when you get to the best setting. Permanent methods include colored whipping line, colored electrical/rigging tape, or fade-resistant markers.
Instead of marks on the control lines, some situations call for alternate methods such as the following:
- a printed scale on the deck or a spar
- knots in lines, if they don’t interfere with adjustment
- built in references, such as bands on the mast or the holes in traveler bars.
Examples
Below are a few examples taken from the MC Scow. Use your imagination to create your own marks.
Related Content
Upwind Sail Trim category – Sailzing