These are two handy modifications that you can make to help your Melges 15 experience. The porthole storage applies to everyone, but the envelope cover mod will be for those who have the Melges 15 Travel Cover.
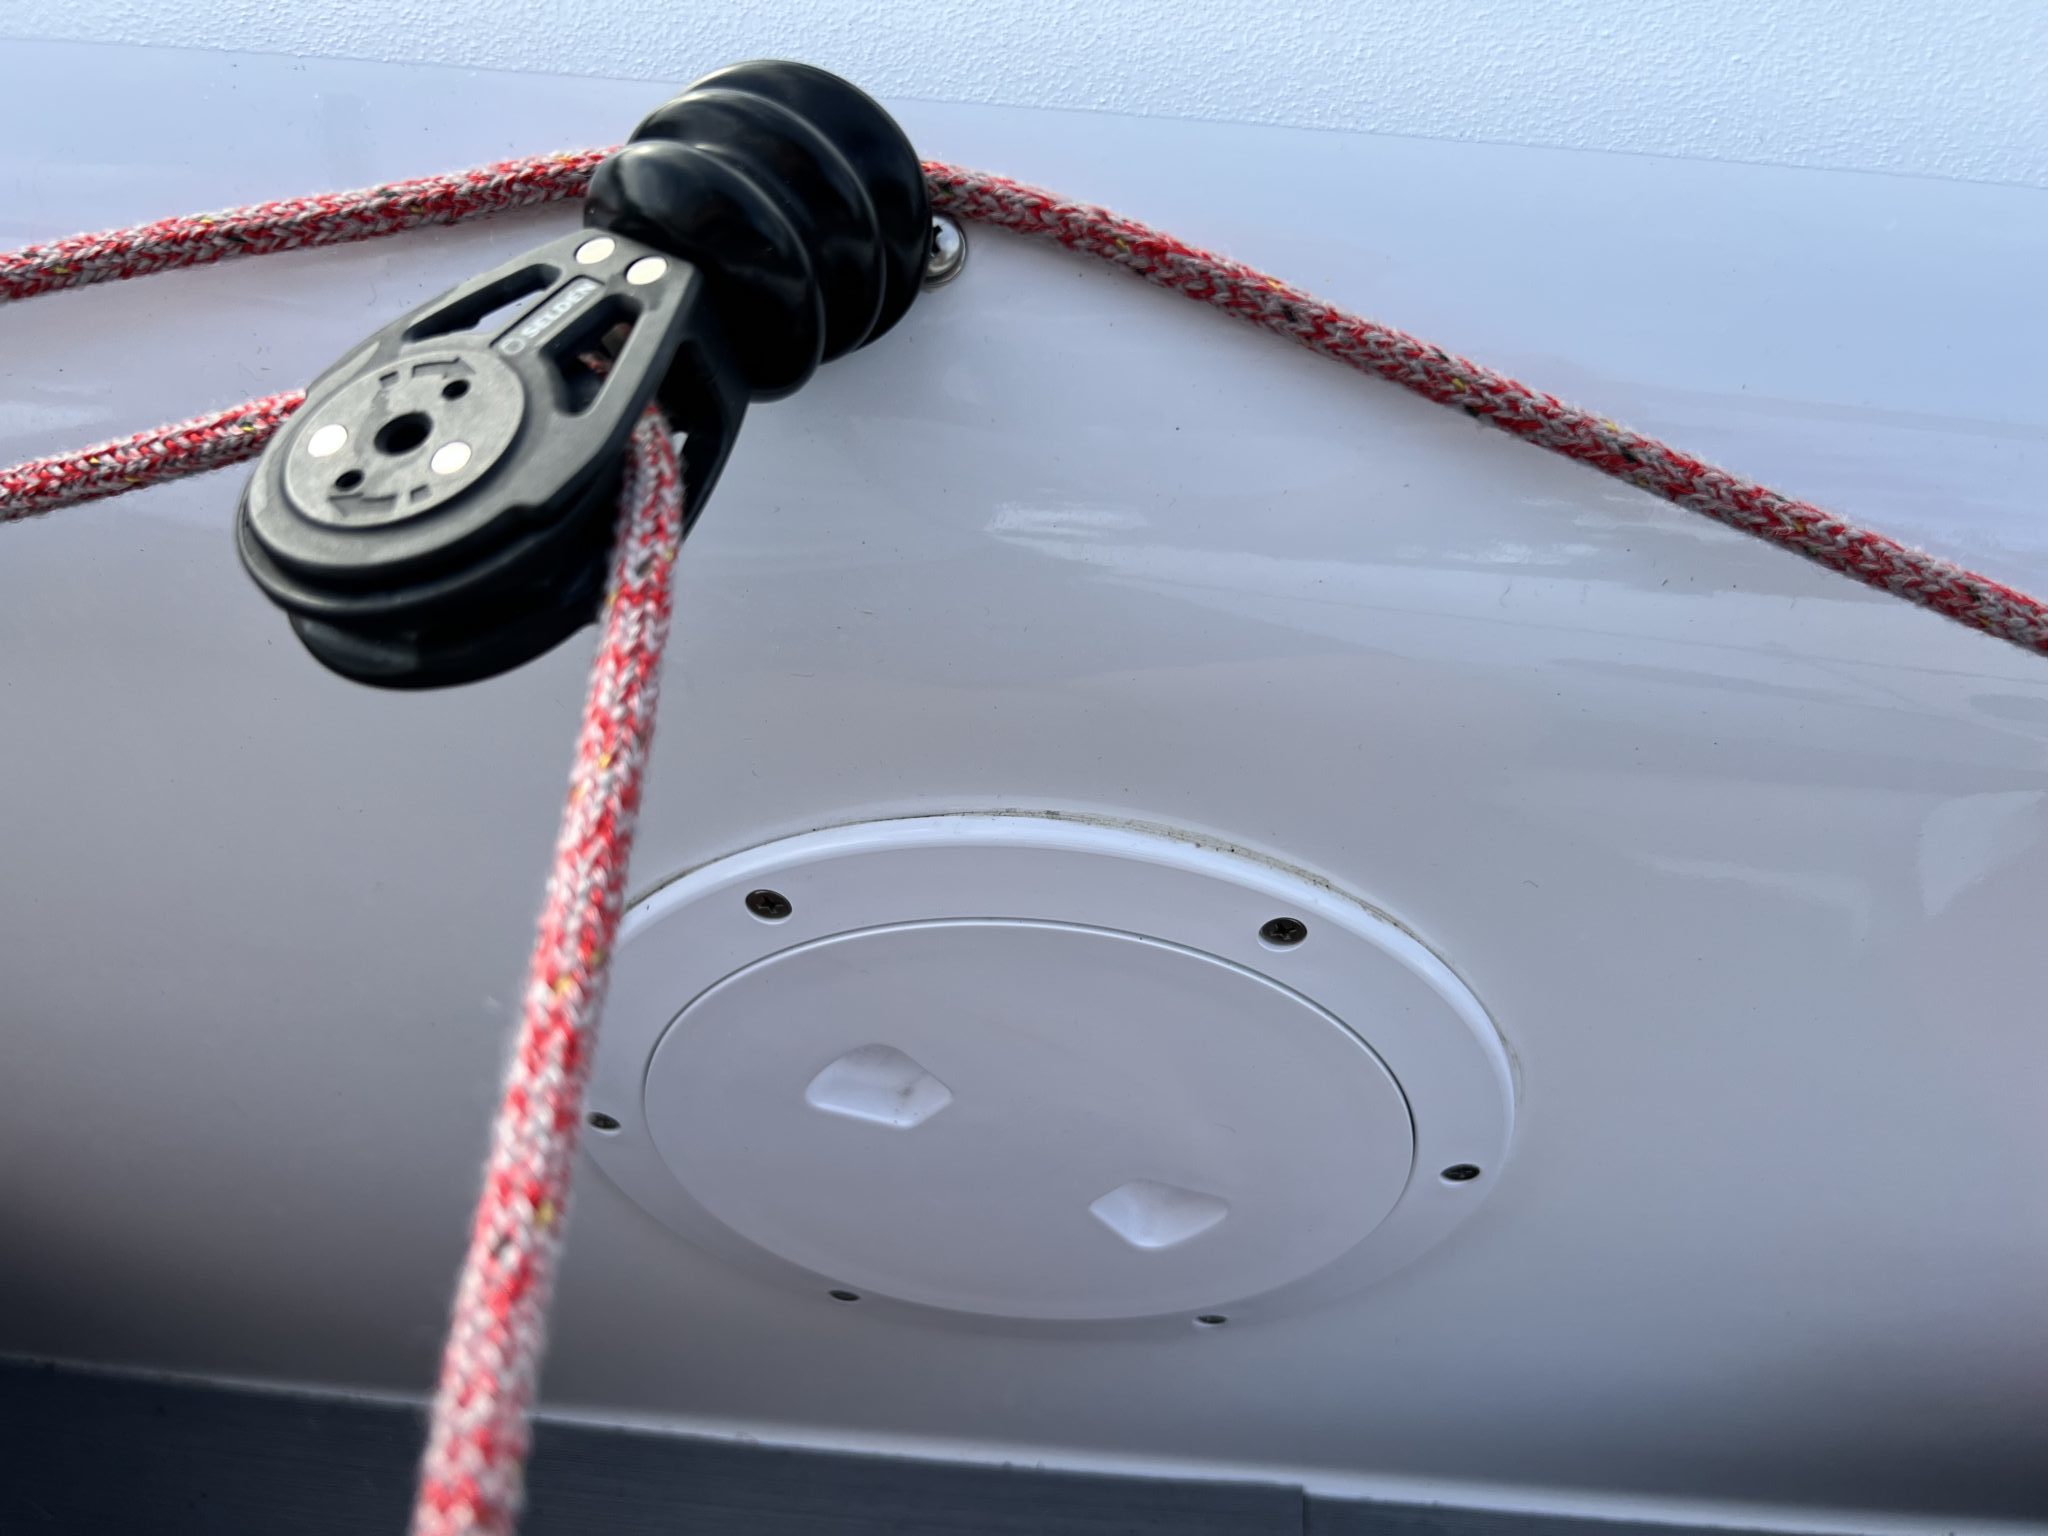
Porthole Storage Mod
The stock Melges 15 has portholes on the port and starboard tanks for access into the hull. You can’t put items in there because they would roll untethered around the hull. This mod adds a bag in the porthole so that small objects – snacks, mobile phones, small tools, shackles, extra line, etc – can be safely stored while you race. Storage can be added to your Melges 15 porthole with the purchase of the Melges 15 Porthole with Storage Bag.
Here are the steps to replace your porthole.
This is the standard porthole. Remove the threaded cover and set aside.
You will be replacing the porthole with a new ring and cover set that includes a removable bag. You can remove the bag to access the inner hull area after this set is installed.

There are six screws that have a product such as TEF45 lubricant on them for water sealing. They are not caulked in.

To keep from losing the screws, put them in the threaded cover temporarily.
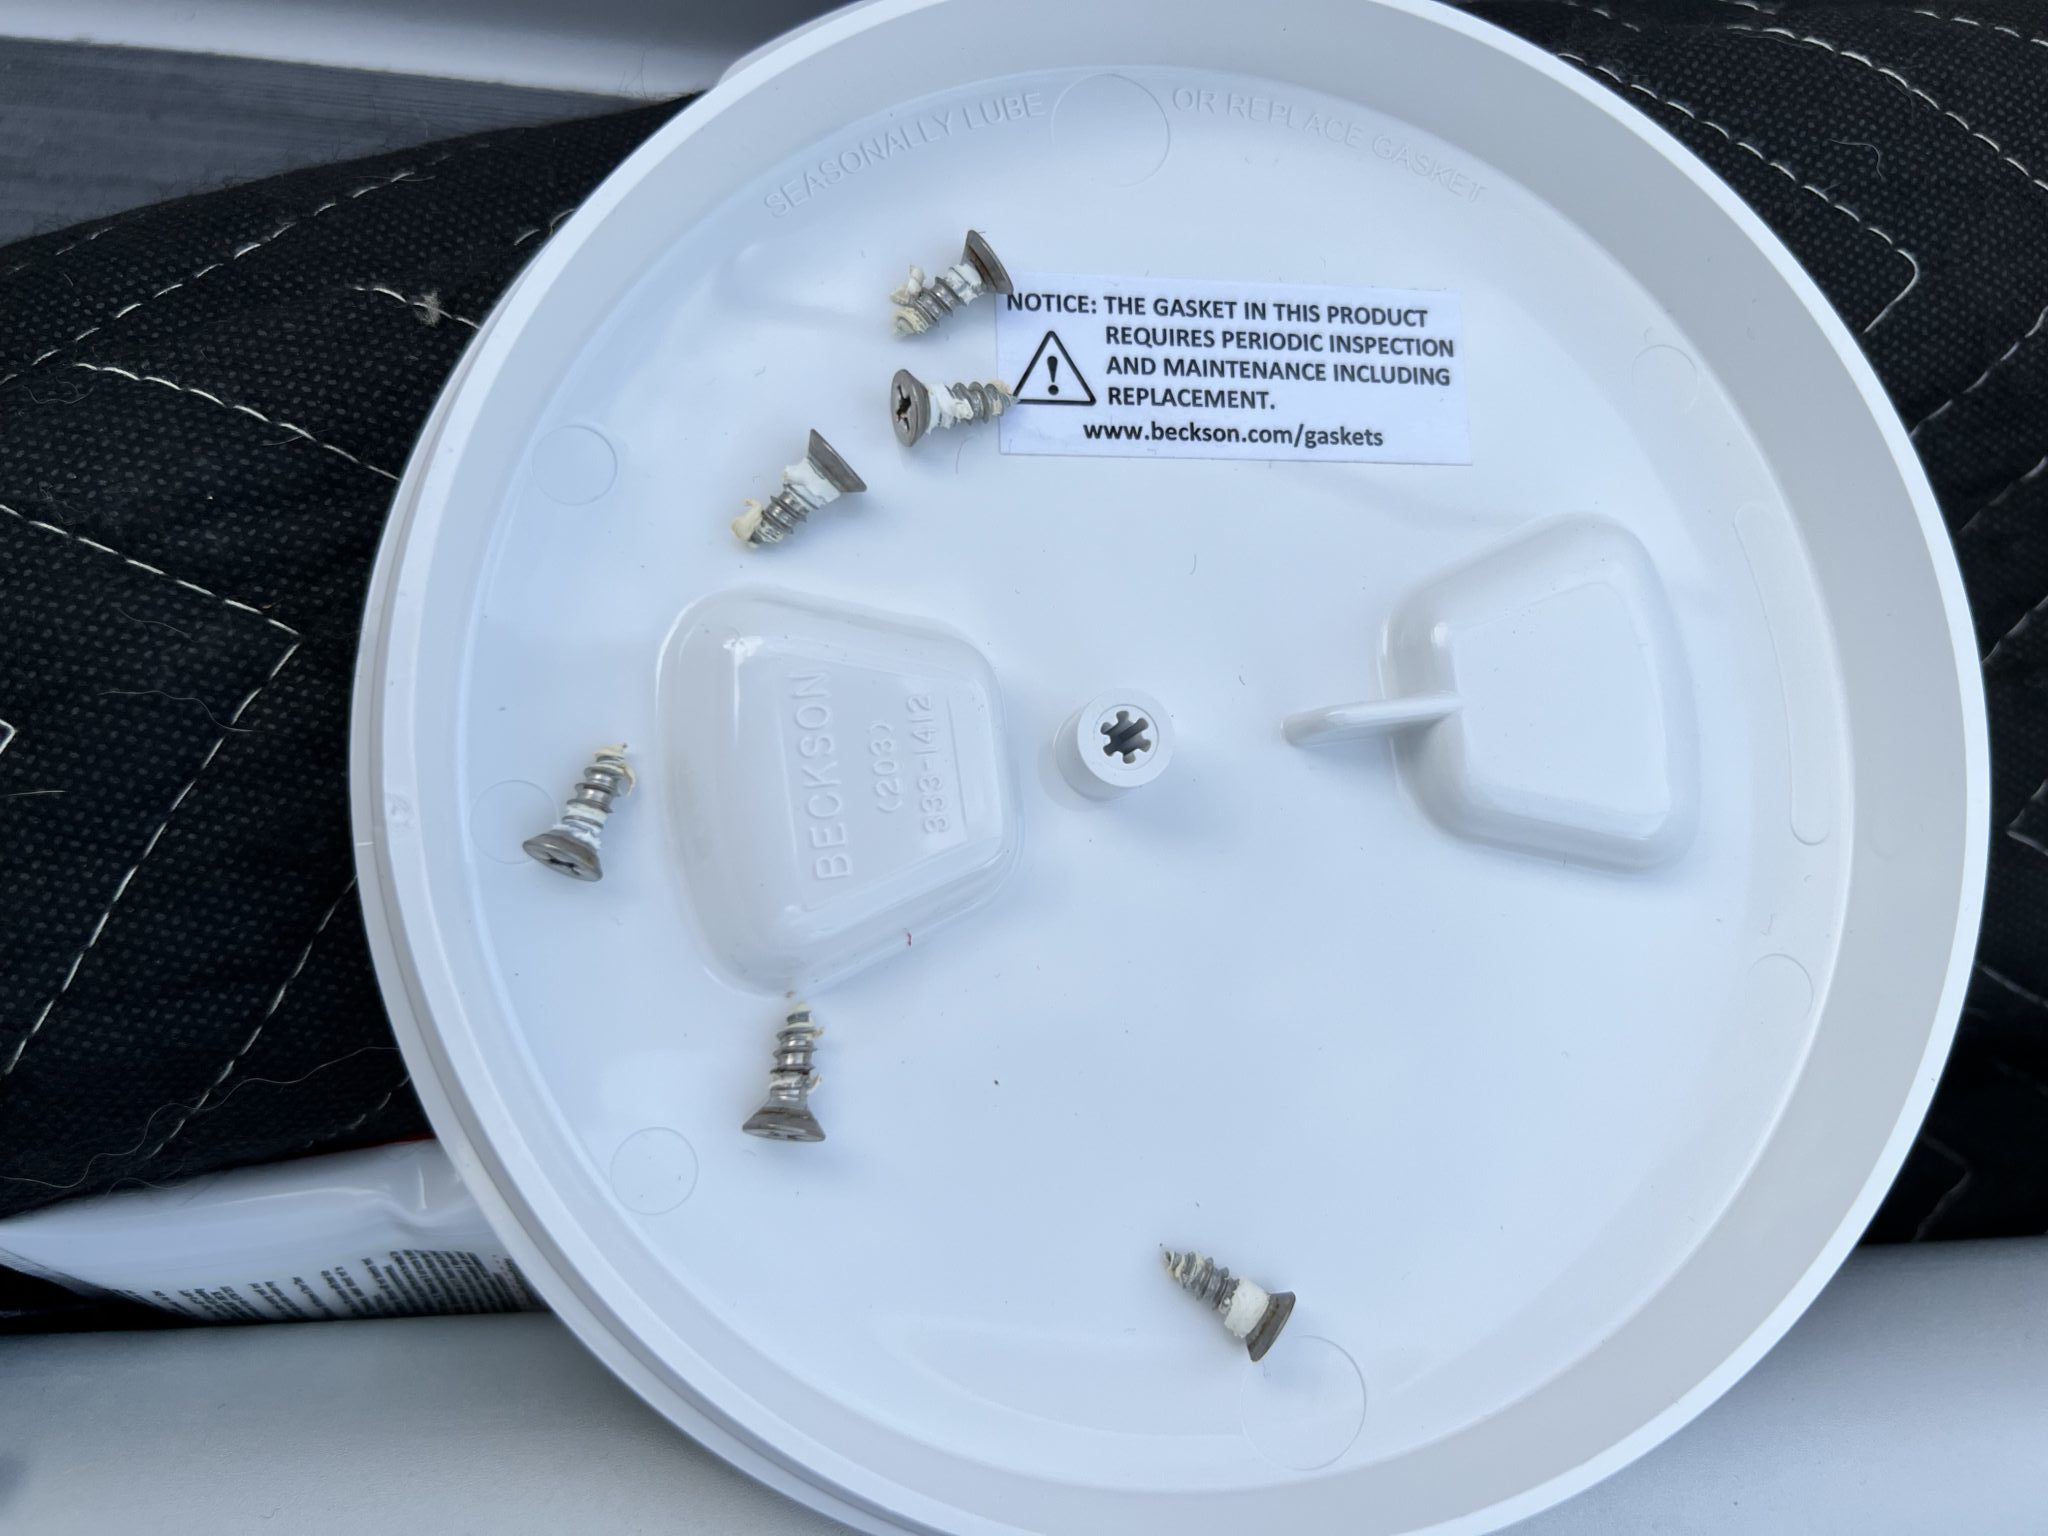
The ring itself is caulked to the hull. To separate the ring from the hull, use a putty knife to cut the caulk all the way to the ring. I didn’t use a blade to minimize scratching the hull.

This photo shows the caulk separating from the hull. Make sure to separate the caulk all the way around the ring. The ring will still be holding onto the hull by some remaining caulk. Press equally against the hull and pushing the ring away from the hull. It’s not helpful to only pull on the ring and possibly stress the fiberglass.


You can carefully clean up the old caulk with a putty knife and a paper towel. Be careful around the screw hole areas to avoid removing fiberglass.


Apply new caulk completely around the hole to prevent water from getting into the hull when you’re finished.
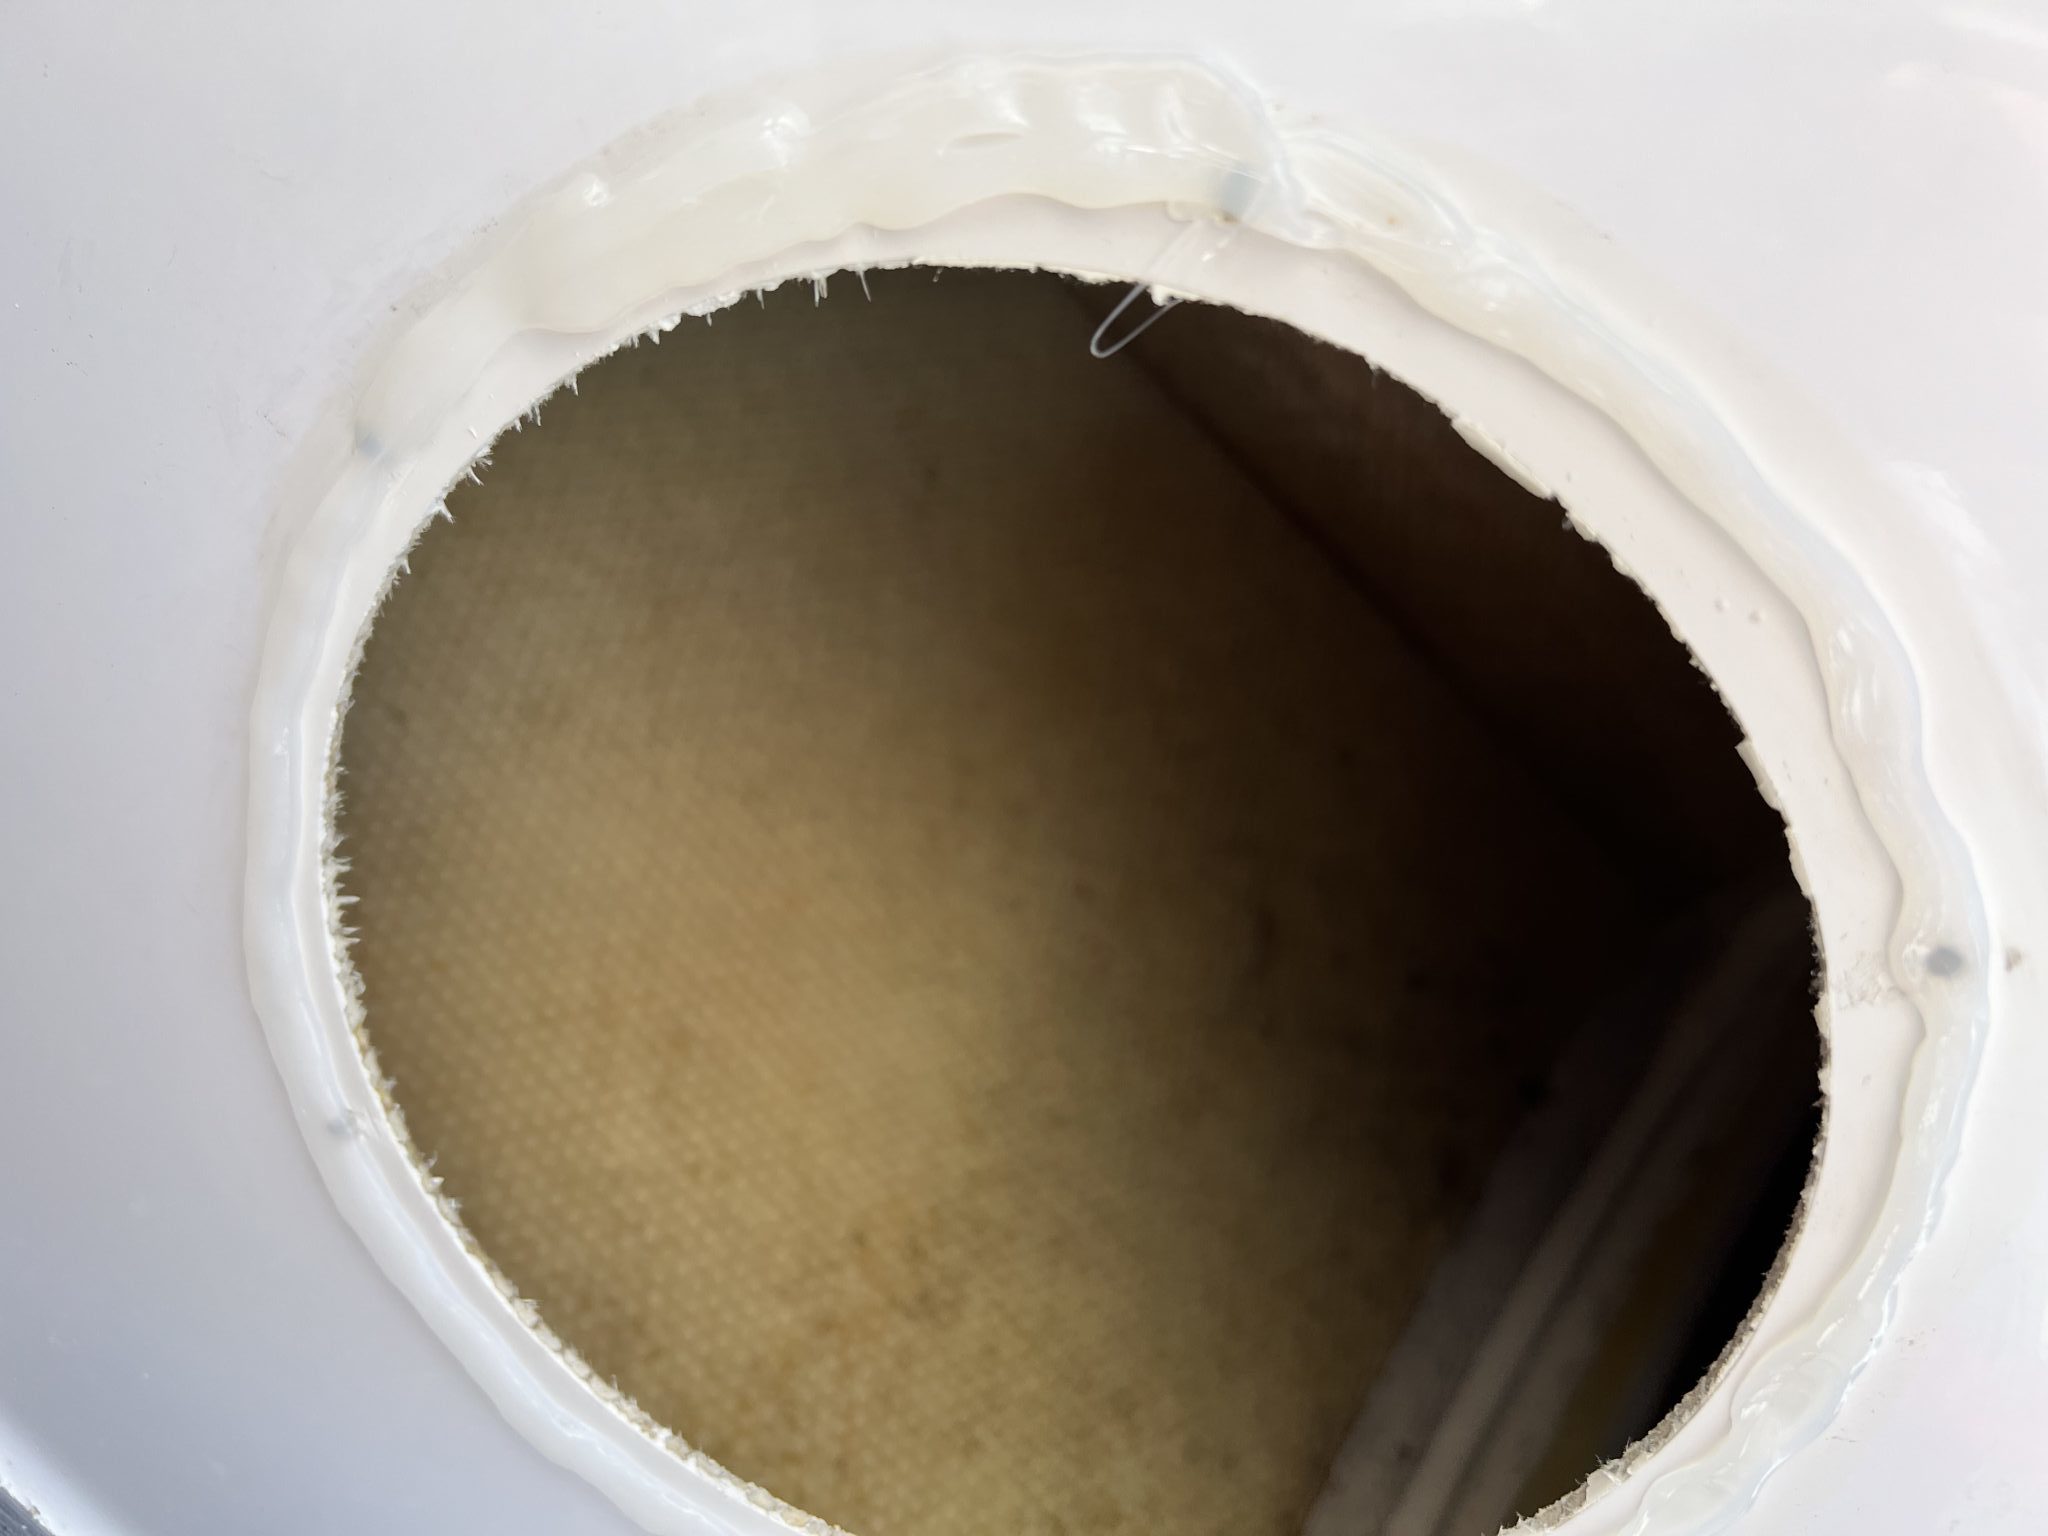
Put a screw in two holes on either side of the new ring. The screws will help you to align the new ring on the holes with minimal effect on the caulk.
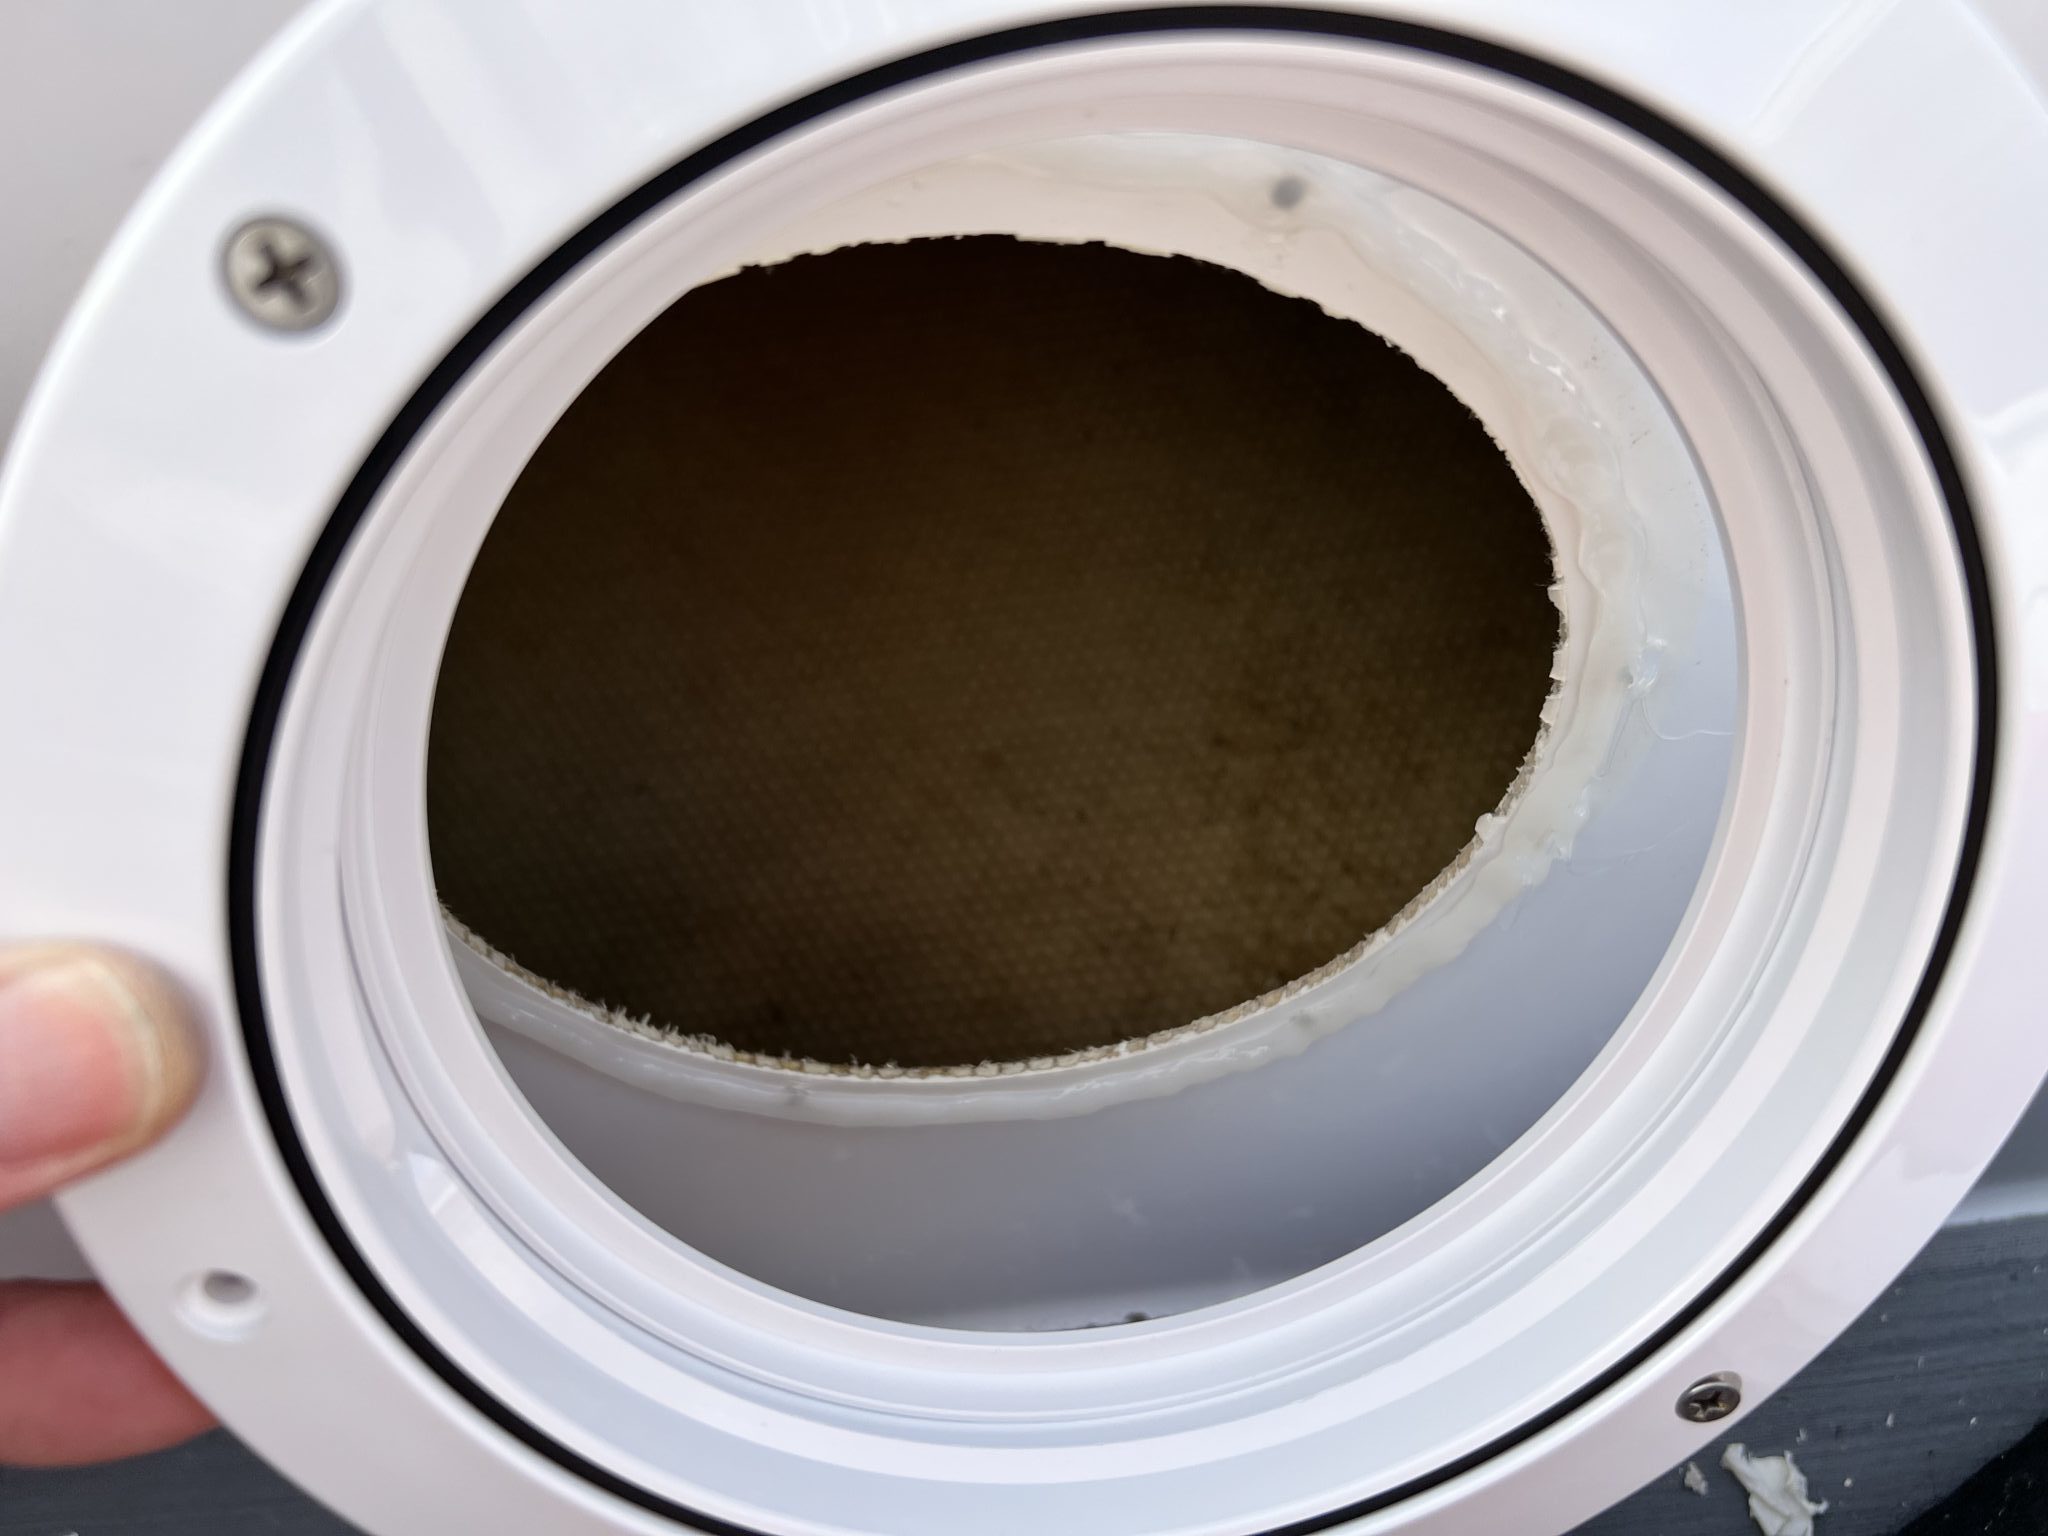
Gently tighten the two screws only until the ring starts to press on the caulk.

Add the remaining screws and screw them all in firmly, but don’t try to overtighten them. The caulk will help to secure the ring.

After the caulk dries, insert the bag and screw the cover down.
Envelope Cover Bow Line
The Melges Travel (Envelope) Cover is nice for protecting that hull that you worked hard to clean for the regatta. Road dirt and rock damage are two things to avoid on a road trip. The envelope cover also provides a little protection from rain and snow as you drive down the highway. There can be one problem though. The bow is fully covered, so there is nothing to lash onto to tie the boat to the front of the trailer. That could lead to over tight tie down straps which can damage the hull and may still not keep the boat from sliding backwards on the trailer.
We used a large needle followed by a fid to enlarge a hole in the bow area of the cover. For placement, we aligned the hole with where the bow plate is. Then we took the Dyneema line that we wanted to use and ran it through the hole with another fid.

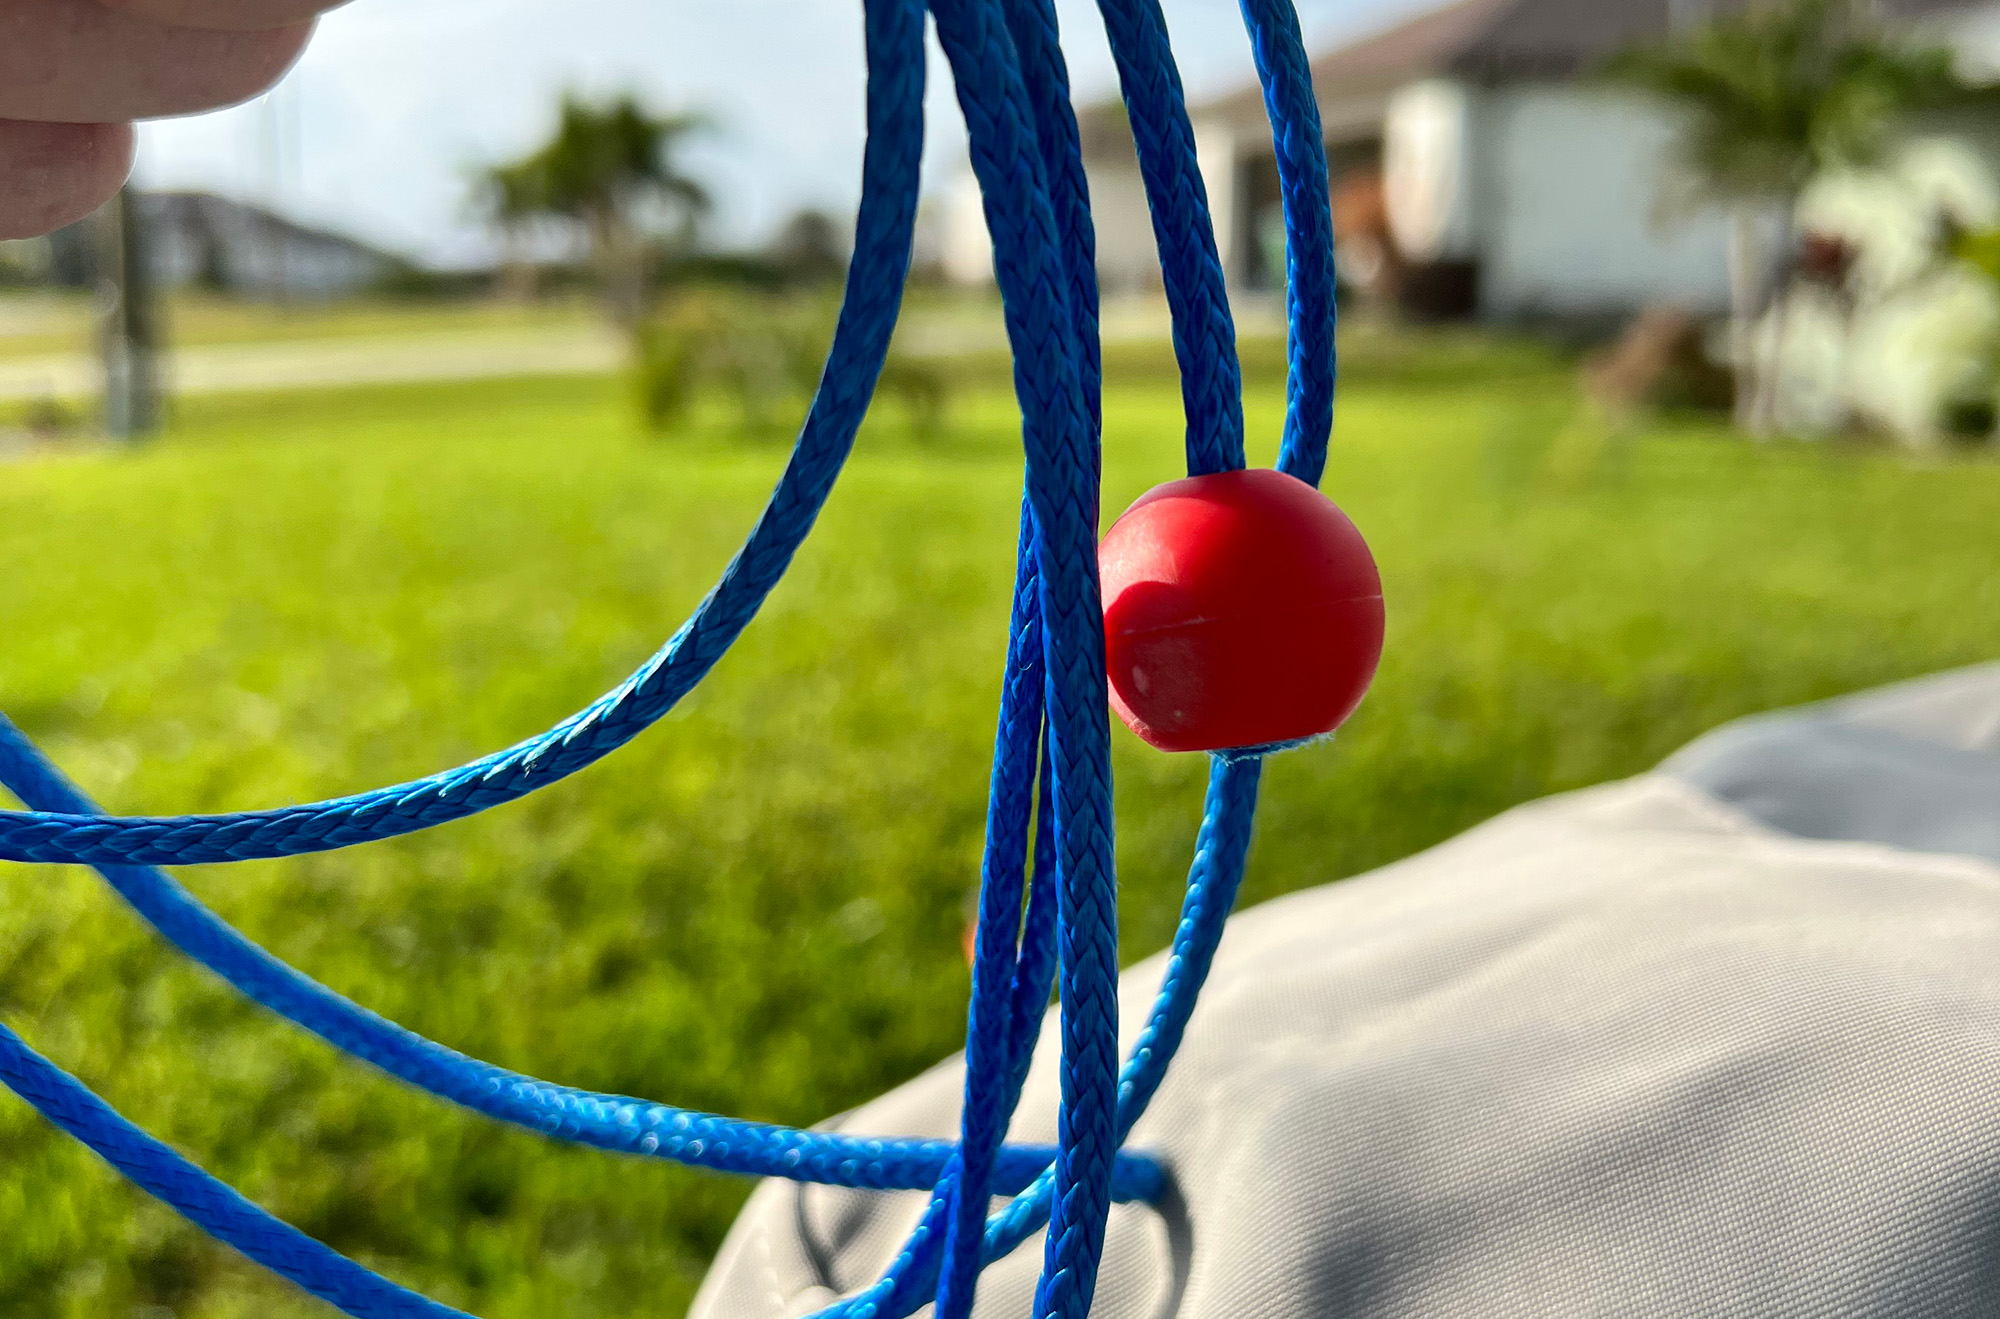
An M15 Halyard Stopper Ball on the outside end will work to keep the line from pulling through the cover when you’re putting on the cover.

On the inside end, we spliced the Dyneema on itself to form a loop for the shackle that will attach to the bow plate. We added another ball to help keep the line from being pulled out the front of the cover.
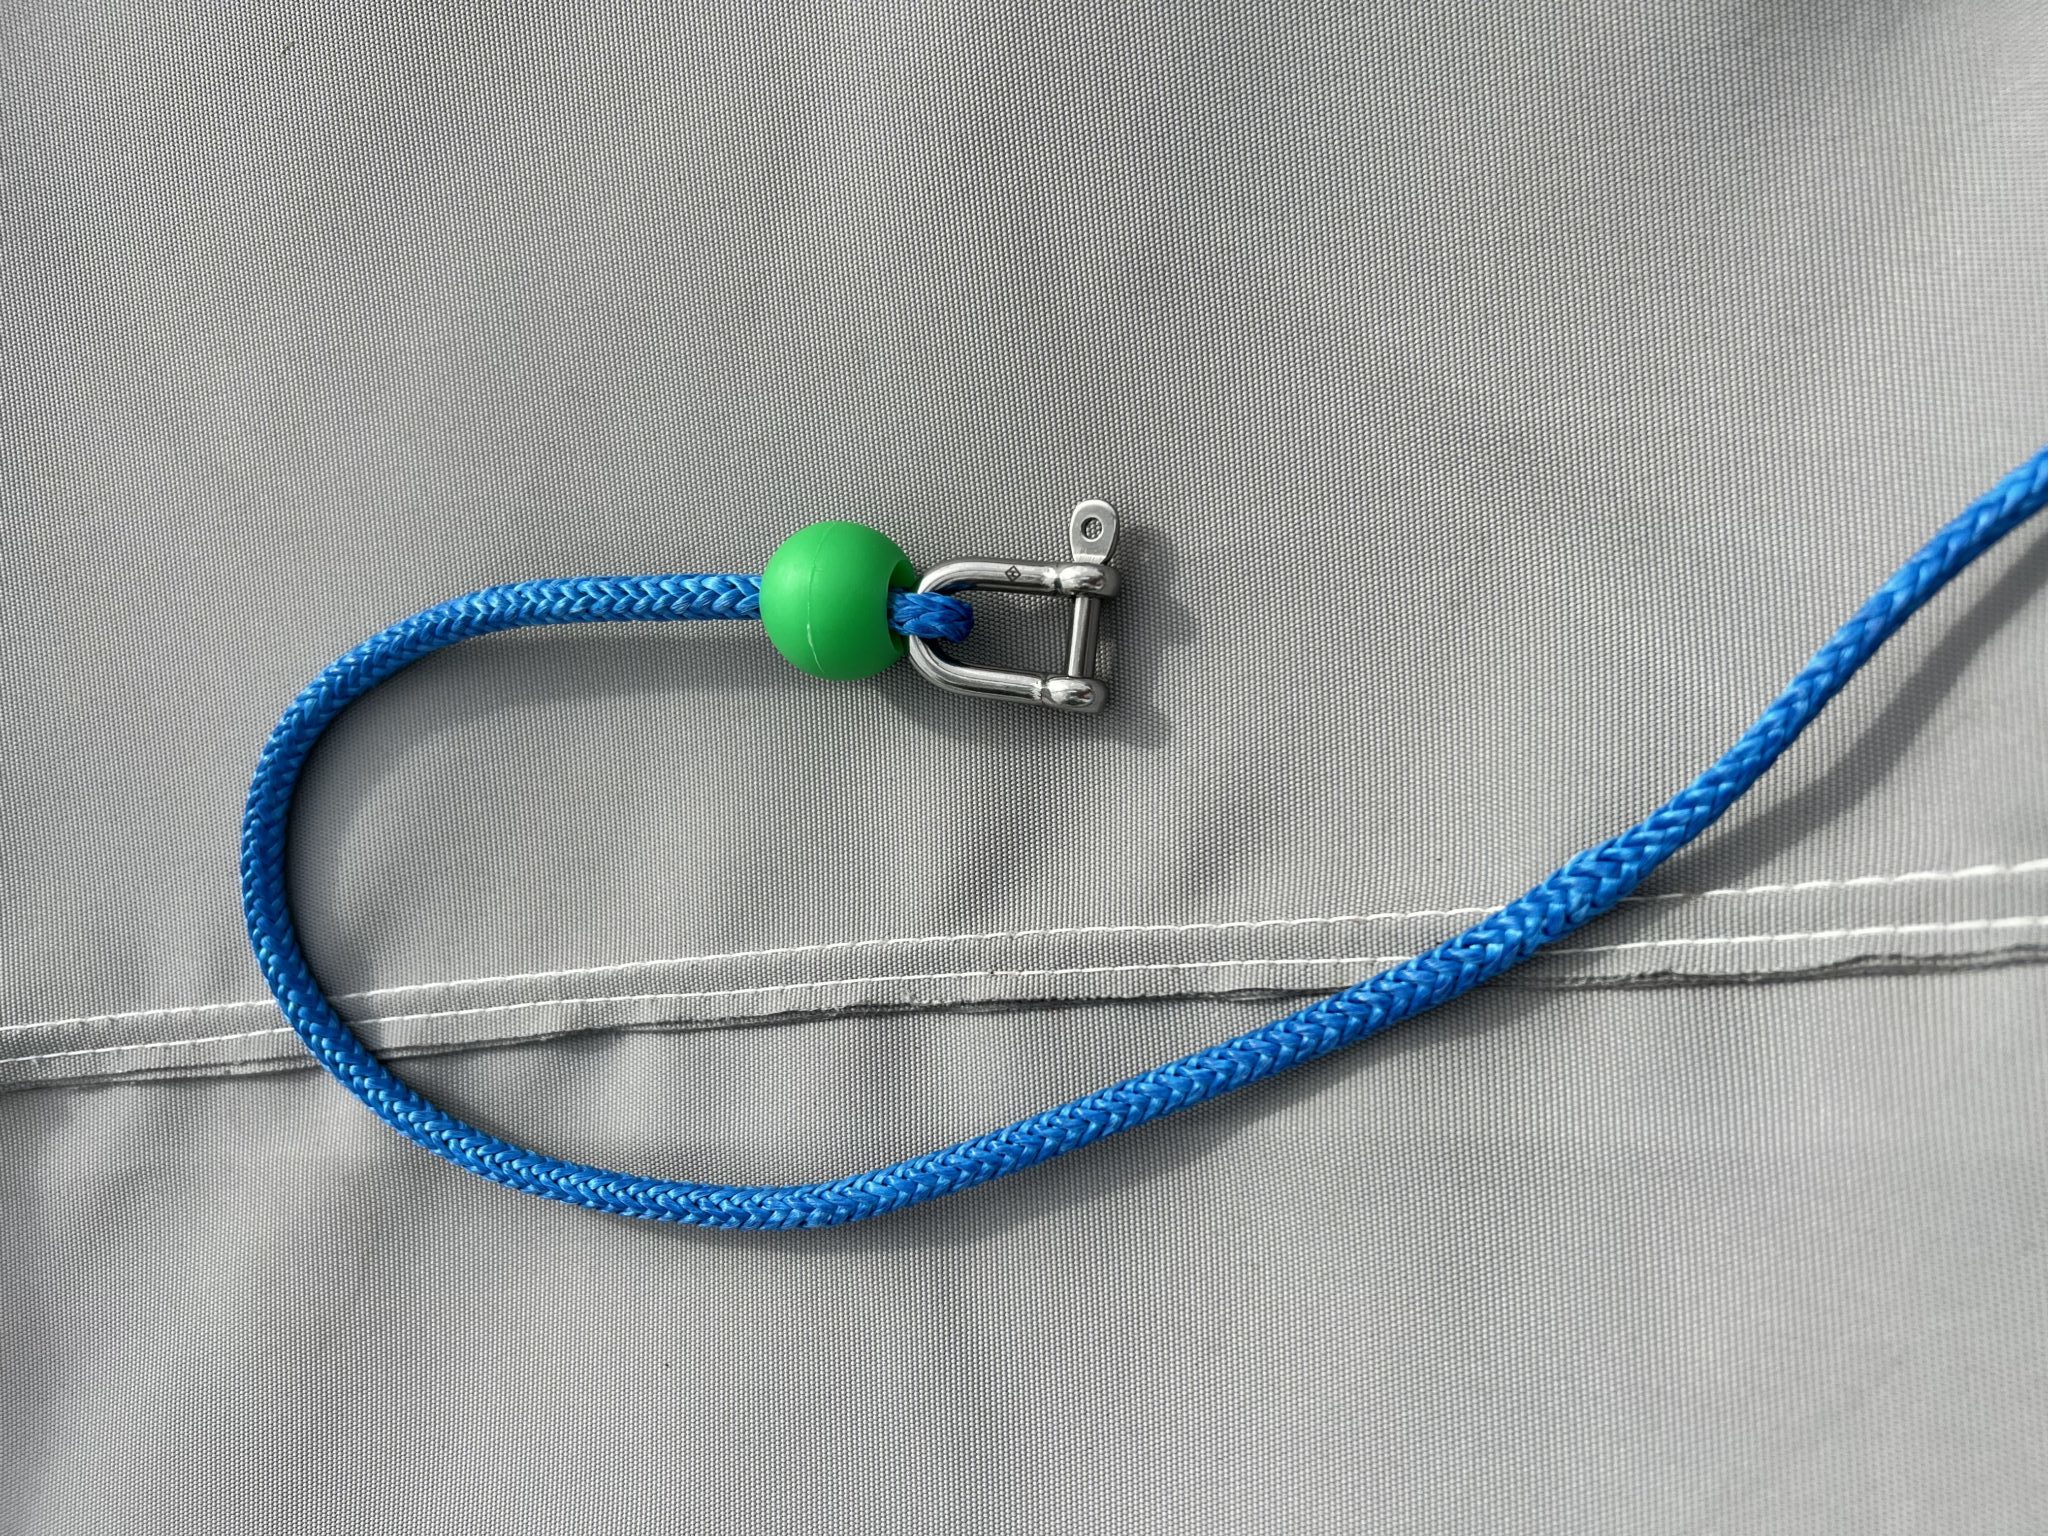
This is the bow line attached to the bow plate. We cut our Dyneema long enough that we can easily attach the shackle before we put the cover on.

If you’re industrious, you could put a grommet where the hole is. For our needs, this treatment alone will minimize water entering while still keeping the boat firmly in its place while we drive it down the road. If the hole starts to get a little big, we’ll add a grommet.

We hope that you find these suggestions helpful. If you have class legal mods that you want to share, let us know.

