Flying a spinnaker, or “chute / kite”, can produce an incredible ride! On a Melges 15, the chute adds almost 117% more sail area beyond the main and jib sails combined. That’s a lot of additional pulling power. Coming around the top marks, the boat that launches its chute first and best can put many boat lengths between them and the competition. Conversely, the boat that can’t cleanly launch and power up the chute can be left behind in no time. We’ve been on both sides of this equation, so we focus on practicing our chute launches, trimming and dousing so that we can gain an advantage over less-skilled crews. In this article, we’ll cover the parts of a Melges 15 Spinnaker and how to put it on the boat.
Anatomy of the Chute

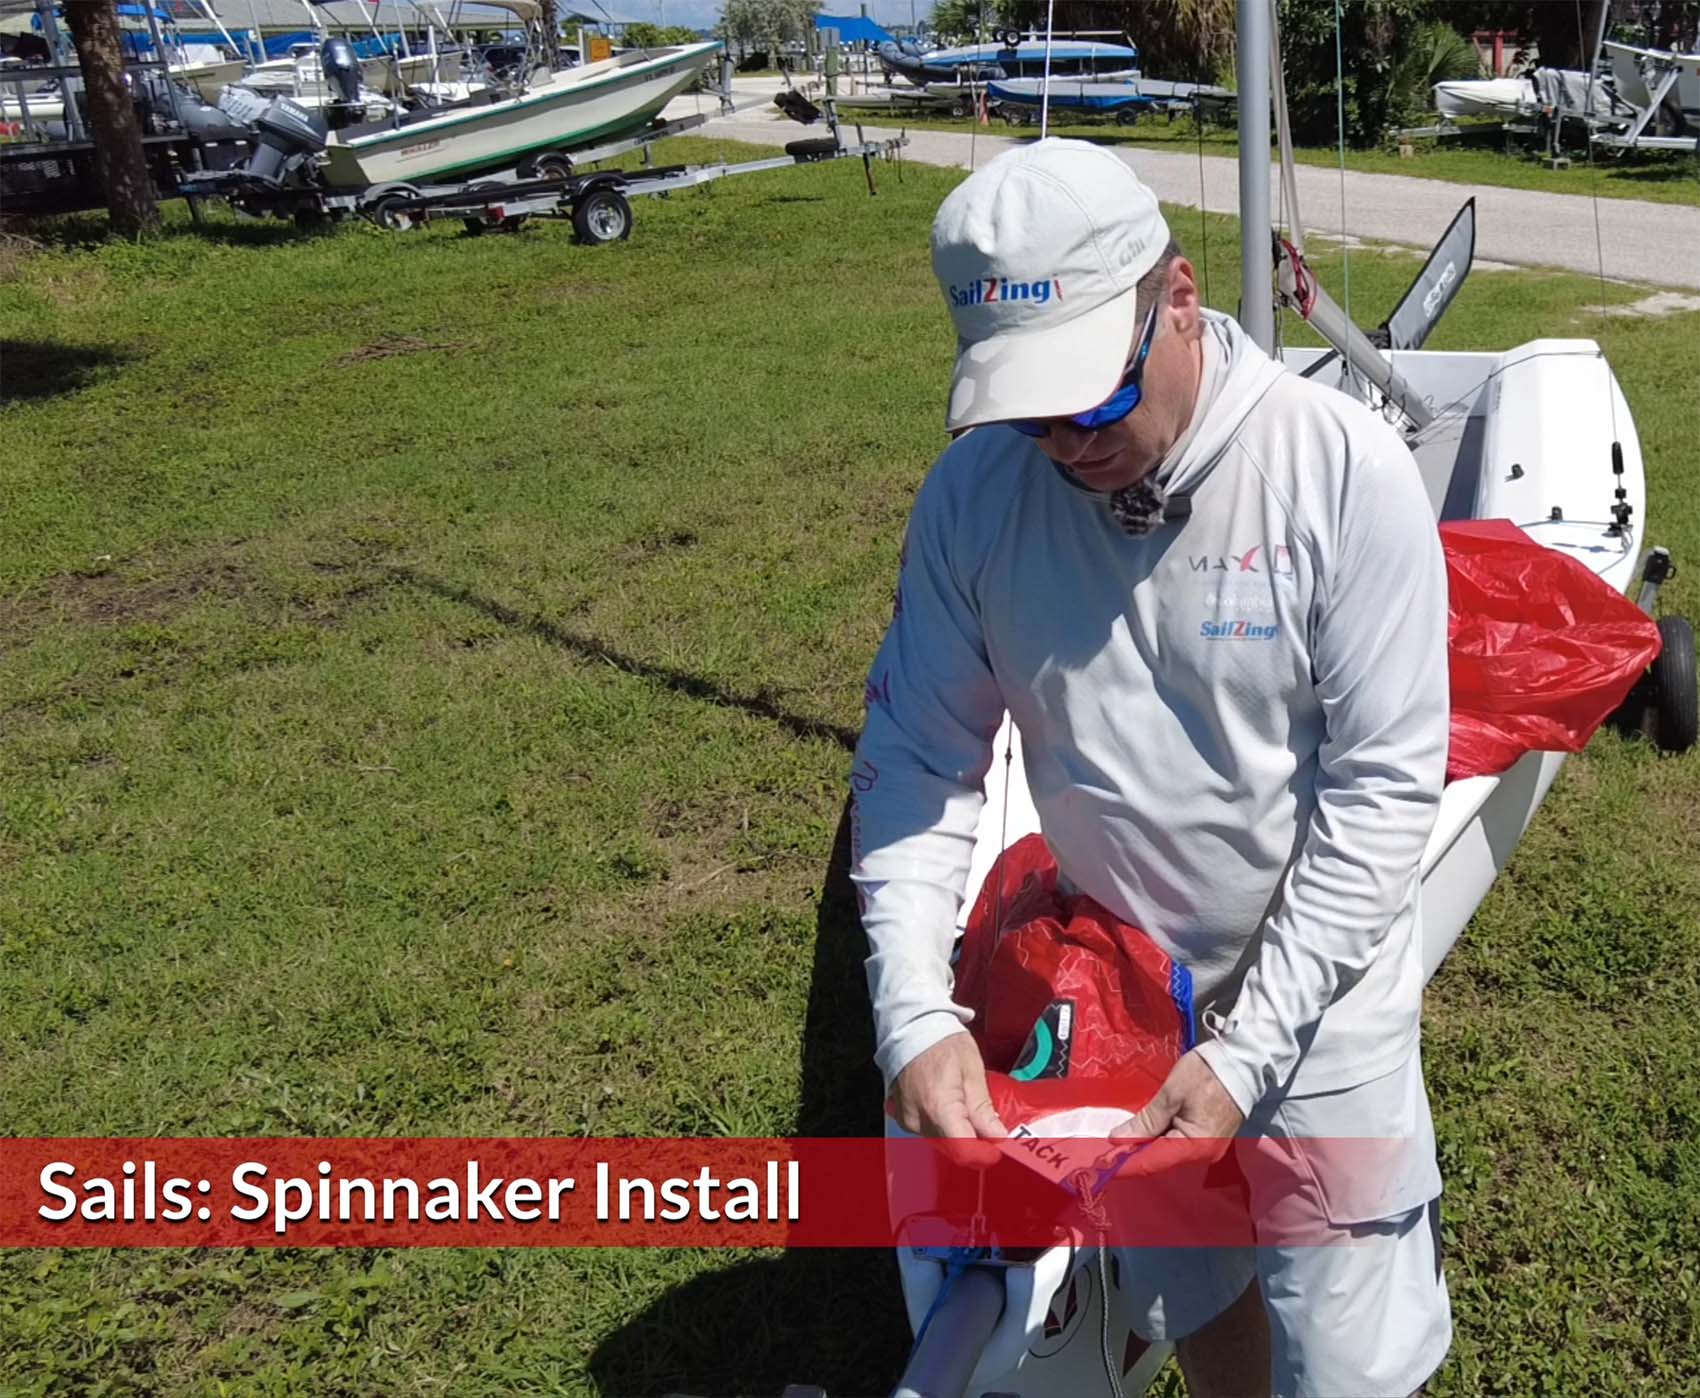
Mounting the Chute
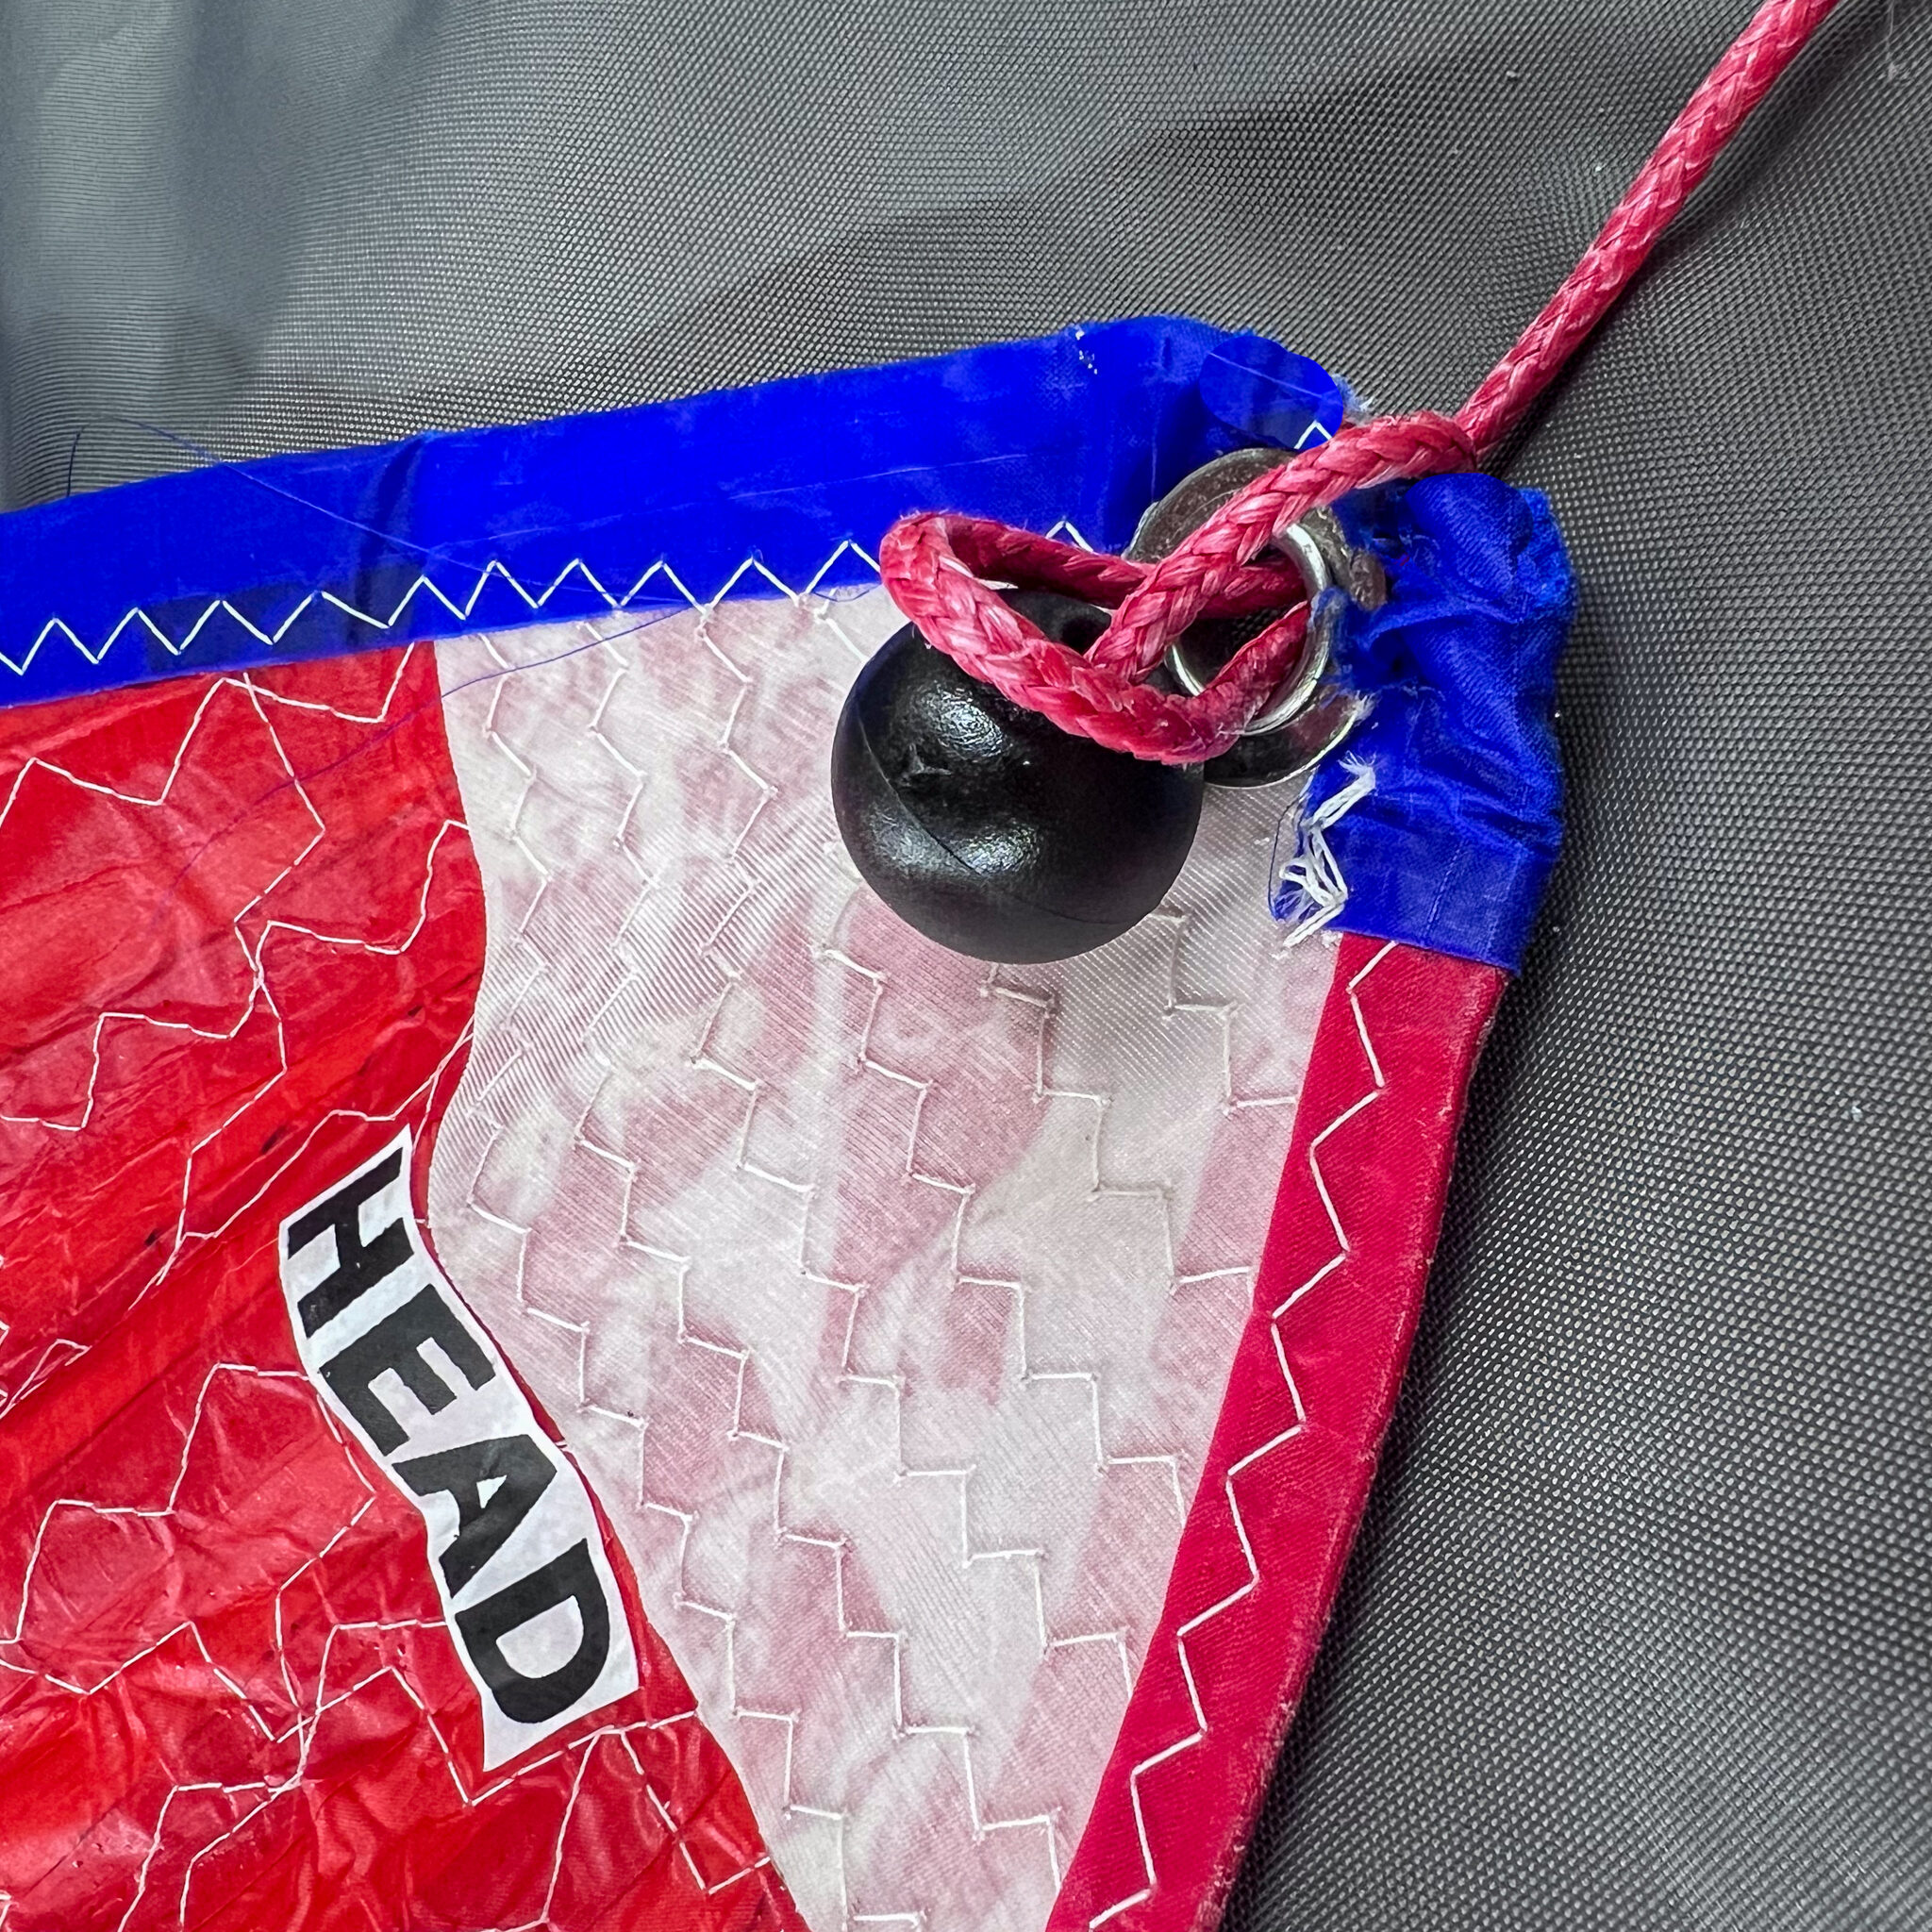
Attaching the Head
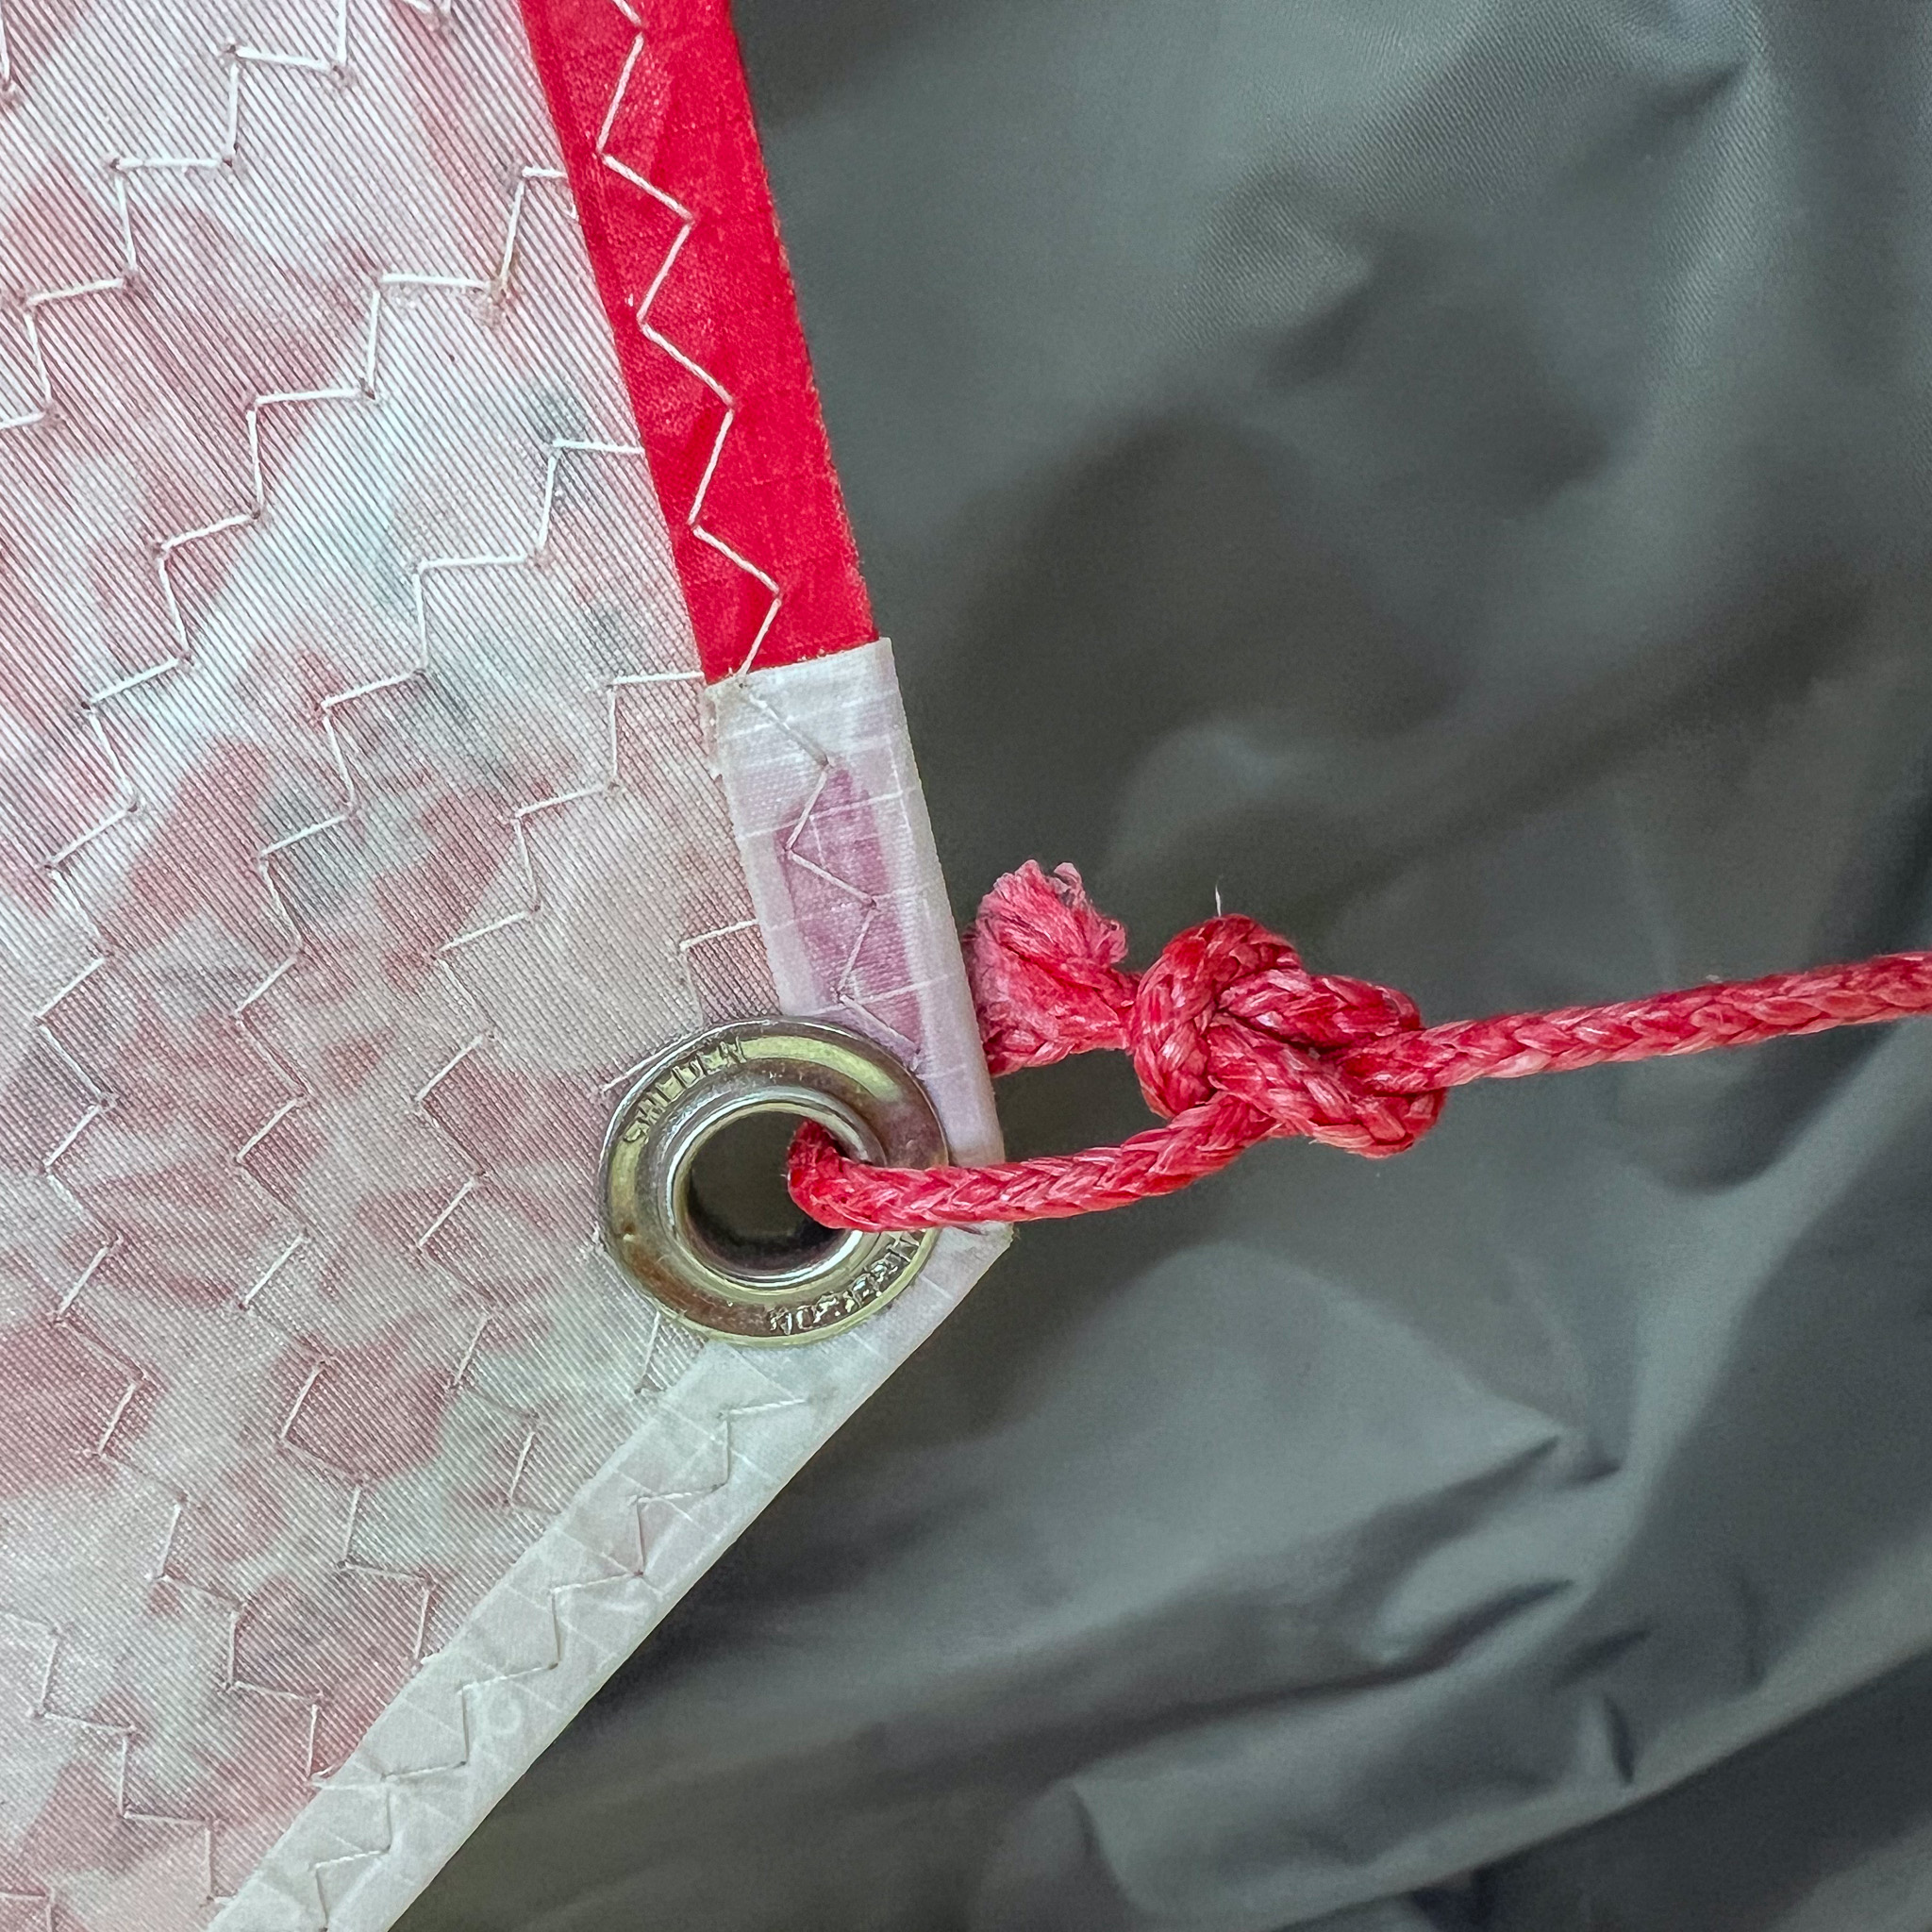
The Head of the sail is the easiest part to connect. Tie the spinnaker halyard end coming from the top of the mast front to the Head grommet. You can tie a tight bowline or, if you have a stopper ball on the end (as shown below), push a loop of line through the grommet and run the stopper ball through the loop created, then tighten it up.
Attaching the Tack Line from the Sprit
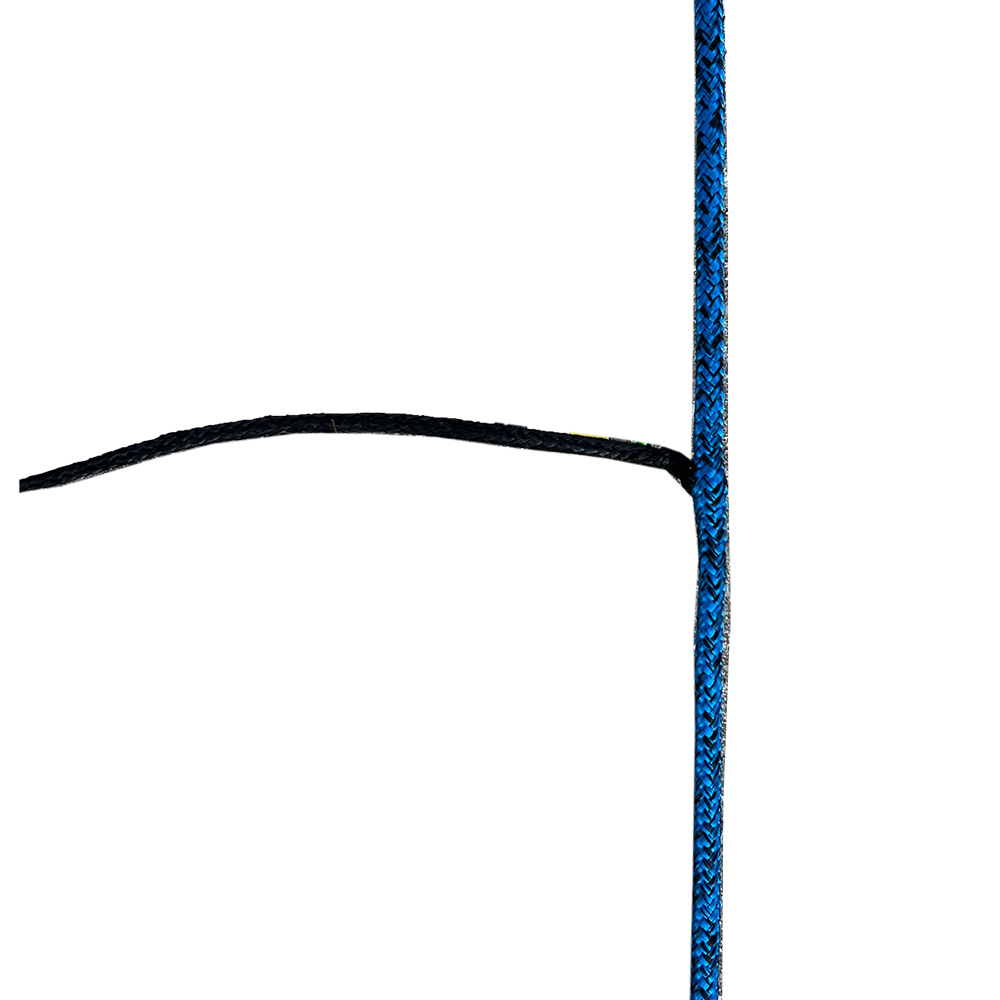
Follow the blue tape down from the head to the tack. This will make sure that no twist is in the chute. This will lead you to the Tack grommet. The Tack line coming forward off the bow sprit is then tied to the Tack corner of the Spinnaker with a bowline knot.
Attaching the Clew to the Spinnaker Sheet Line
Follow the white tape back from the Tack (that you just attached) to the Clew corner grommet. Check the spinnaker sheet to be sure that it crosses in front of the forestay, over the sprit and behind the tack line. and tie the “pigtail” to the Clew grommet with a bowline knot. The pigtail line helps the sheet to cross the forestay when you tack. If you just have the spinnaker sheet ends connected to a shackle or intend to tie them to the clew grommet, you might want to tie them to a short length of 2mm Dyneema (6-8″ long) instead. Make sure that the Tack line will not tangle with the spinnaker sheets as the spinnaker Clew crosses the bow. The best way to be sure that you got this right is to hoist on land and pretend to “tack” the spinnaker.
The best approach that we’ve seen is to splice the pigtail through a continuous spinnaker sheet as shown in the racing spinnaker sheet lines from Melges Performance Sailboats. The line is continuous at the pigtail, so it clears the forestay easily and doesn’t get hung up.
Attaching the Dousing Line
The dousing line is actually the opposite end of the Spinnaker Sheet. It enters the stern end of the spinnaker dousing bag and goes inside the dousing bag to the bow exiting under the stainless steel hoop. It is then typically run UNDER any sheet lines at the bow to the outside of the rig and goes into the lowest mid-sail spinnaker grommet from outside to inside. Then the dousing line exits from inside to outside at the second grommet and then into the top grommet outside to inside and a figure “8” knot locks it from pulling through the grommet.
If there isn’t too much breeze before you get on the water, you really should test launch the spinnaker by pulling on the spinnaker halyard on the starboard side of the boat to the right side of the mast. Then, test tacking the chute to be sure that your lines are run correctly and will not tangle. Afterwards, douse the chute back into the bag and see how well that goes.
Conclusion
Mounting the spinnaker correctly and making sure that the lines run correctly, the chute is not twisted and such is CRITICAL to preventing a bad result on the water. Once in a while, we will move too fast on shore and fixing a mistake on the water is really a pain.
Next, we will cover how to launch the chute.