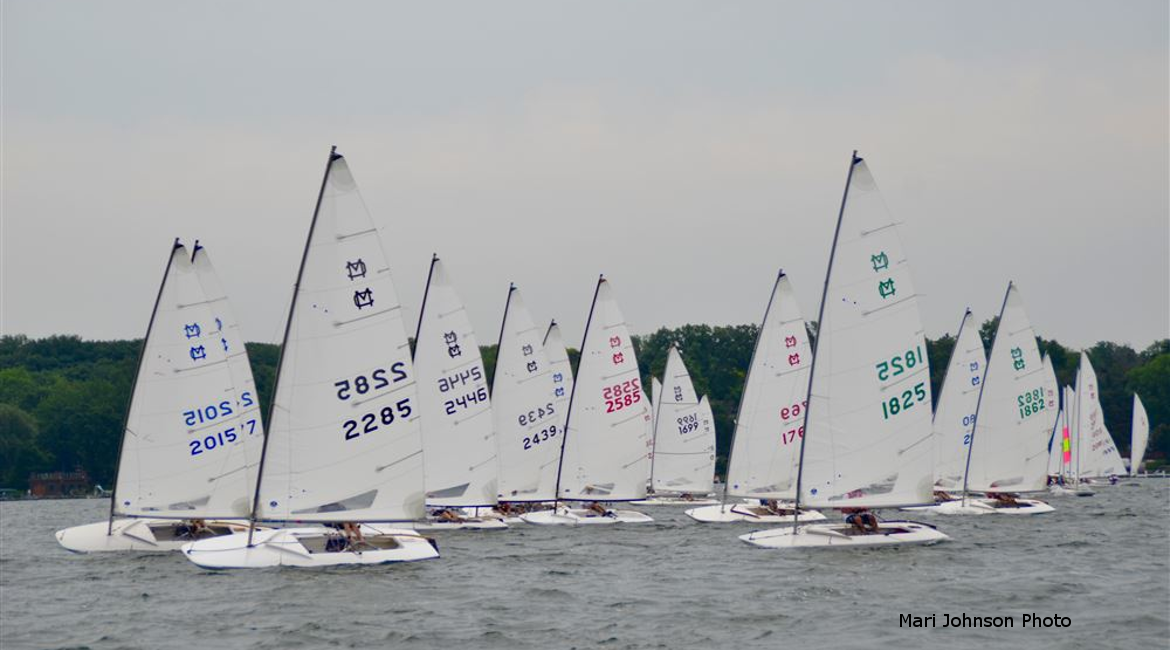
For many readers, including your editor, losing boats on the last leg is all too common. In this series of posts, we’re going to explore how to stay ahead on the last beat. We’ll start with covering tactics at the last leeward mark rounding.
The Dilemma
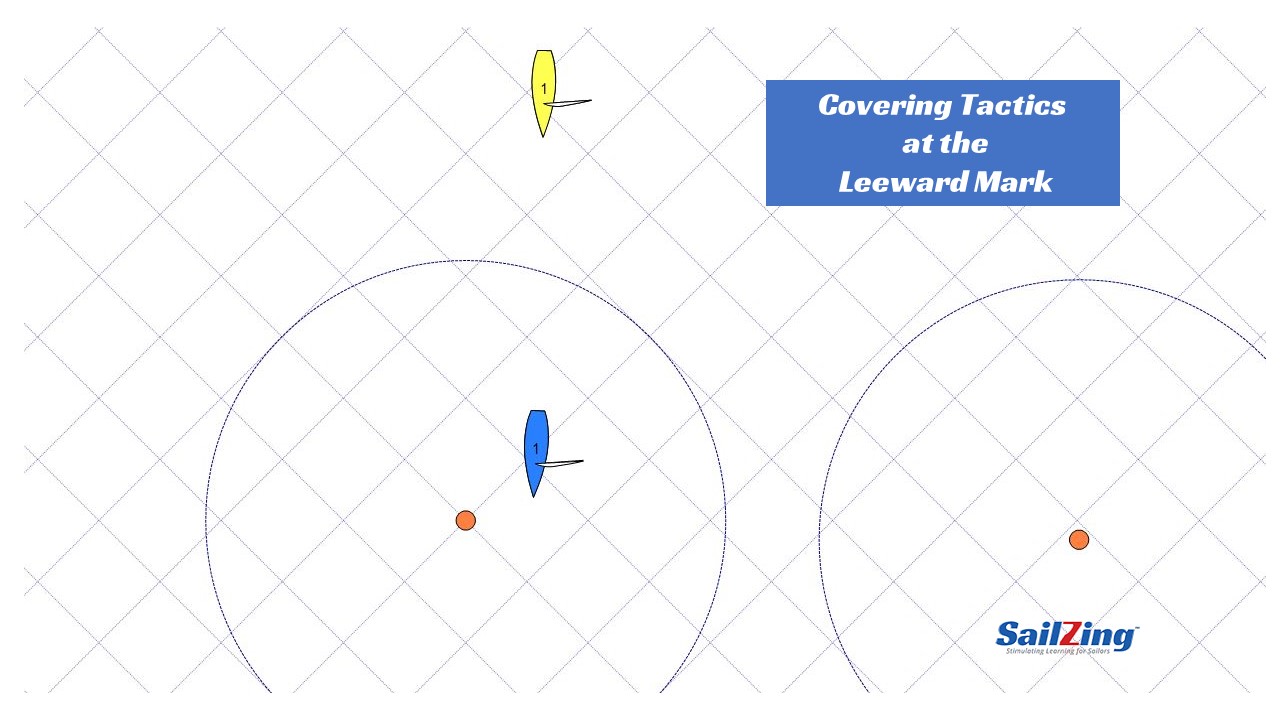
You’re ahead of another boat at the leeward mark and want to cover her on the final beat. The first move is yours. What do you do immediately after rounding to stay in a safe position, no matter what the boat behind decides to do when she rounds?
If you were sailing your own race, you would decide based on which side is favored, or which tack is initially lifted, while considering the bad air of fleet coming down. But if your goal is to beat the boat behind, you have to cover.
Adequate Lead
According to Scott Ikle, in Staying Ahead on the Final Beat, and Gary Jobson and Tom Whidden in Championship Tactics, if you have more than a few boat-length lead, you should spend some of it by making two tacks after rounding.
If you round the leeward mark with a lead, … take one short hitch toward the fleet coming downwind. Once the distance is halved, tack back and you’ll be directly to windward of the boat you need to cover as they exit the mark.
Scott Ikle, Staying Ahead on the Final Beat, Sailing World
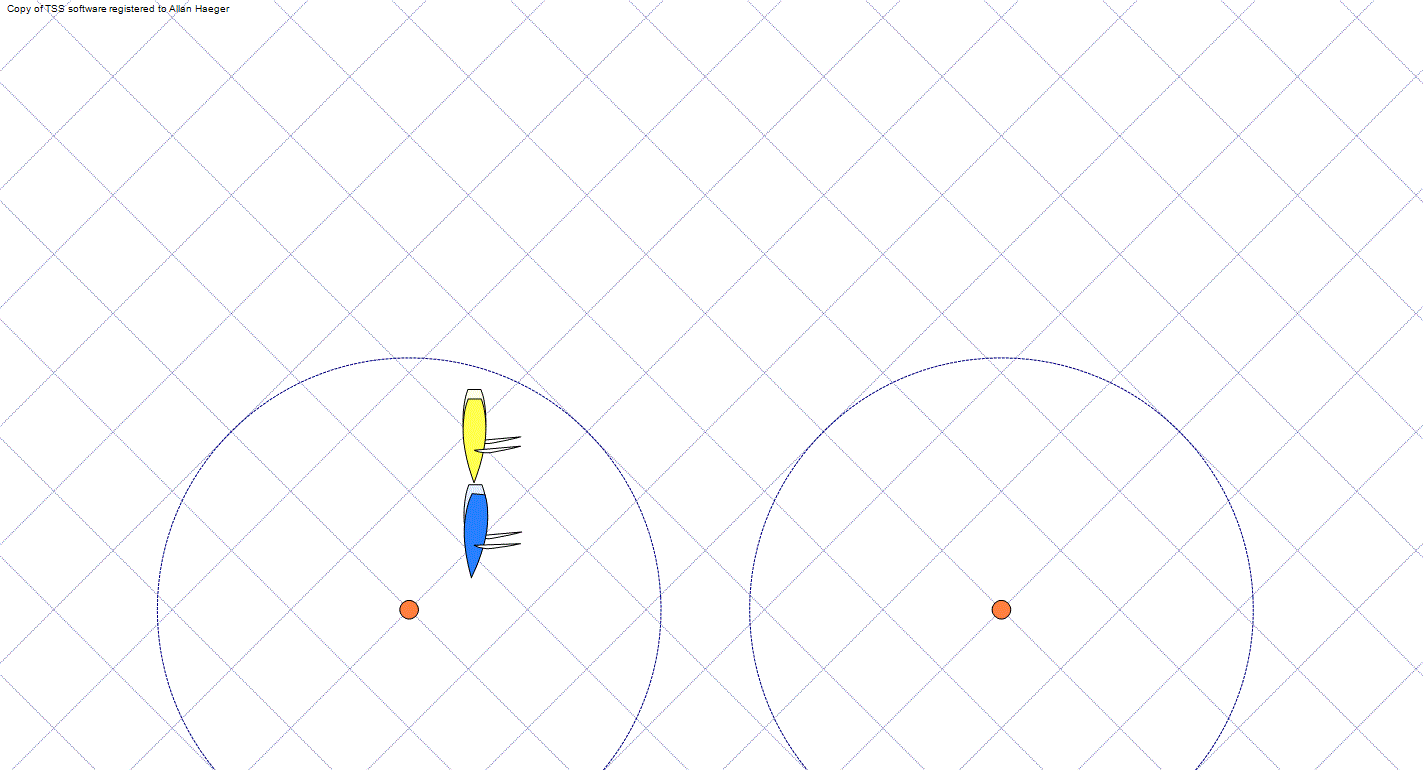
In the situation above, Blue tacks to starboard after rounding and then tacks back when Yellow is halfway to the mark. This puts Blue directly to windward of Yellow after she rounds.
If the lead is big enough, this is a loose cover, since Yellow is not in Blue’s wind shadow. Once you’ve established this loose cover, you can stay in touch as you proceed up the beat. More on this in future articles.
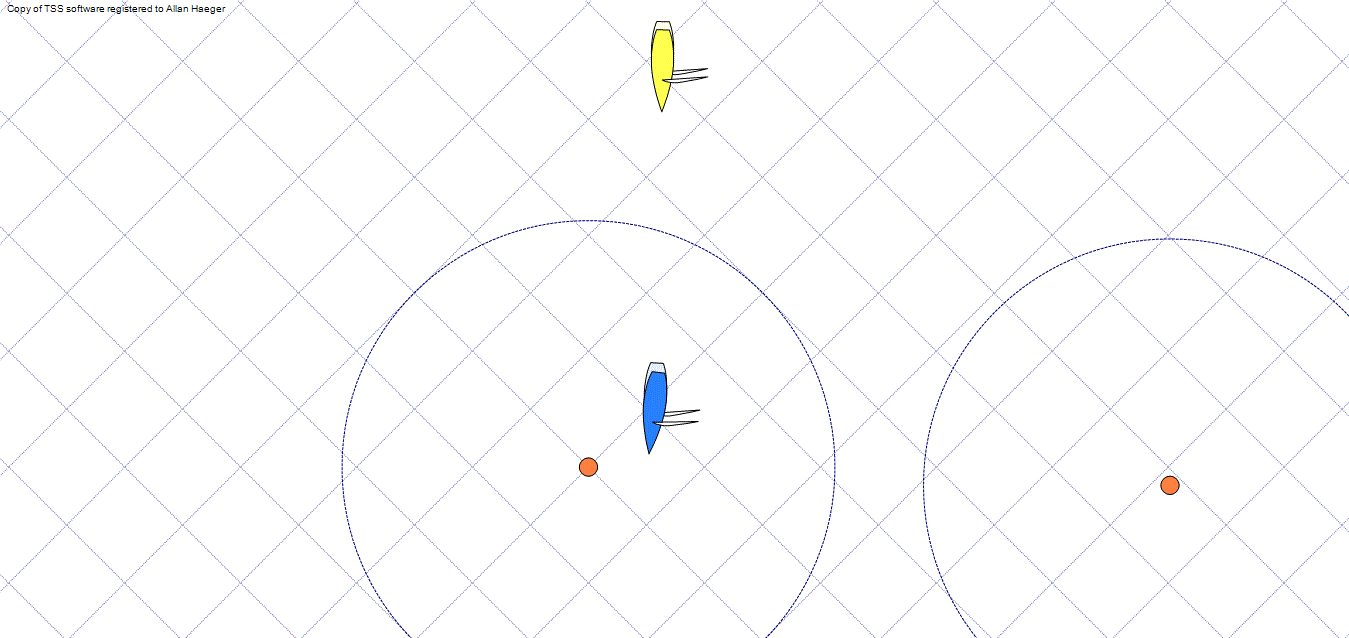
Slim Lead
With a slim lead, you won’t be able to make two tacks. Instead, Jobson and Whidden recommend putting your competitor in bad air immediately.
If you don’t have enough time to get to windward by making two quick tacks, get as high as you can by pinching. By climbing to windward, you’ll leave [your competitor] wallowing in bad air.
Gary Jobson and Tom Whidden, Championship Tactics
In the situation above, Blue pinches after rounding until Yellow rounds. This puts Yellow in Blue’s bad air, forcing her to either tack into the oncoming fleet or continue to lose ground to Blue.
If Yellow tacks into the bad air of the oncoming fleet, Blue can afford to delay her tack for awhile and let Yellow lose ground. If the oncoming fleet’s bad air is minimal, Blue can tack to cover.
Upwind Strategy and Tactics – Sail in Clear Air
Tactical IQ: Leeward Mark Rounding Paths
Leeward Mark Preparation Checklist